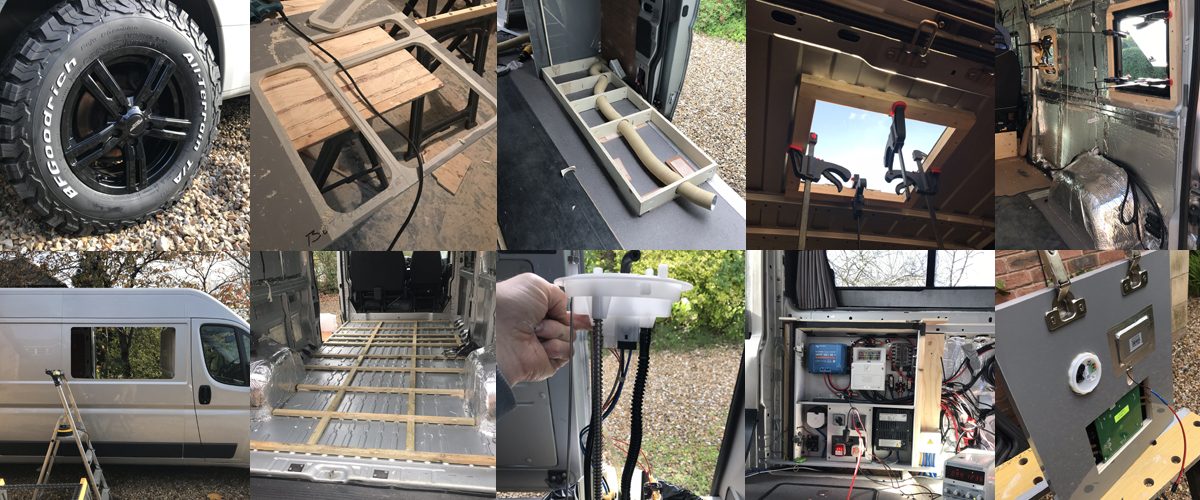
If you have followed the categories in order you will note that I have made the walls for the shower or wet-room but I haven’t fitted them yet. This is because I now need to add white plastic panels to the back of these wall panels. The whole room will be in white and fully sealed (except for around the door).
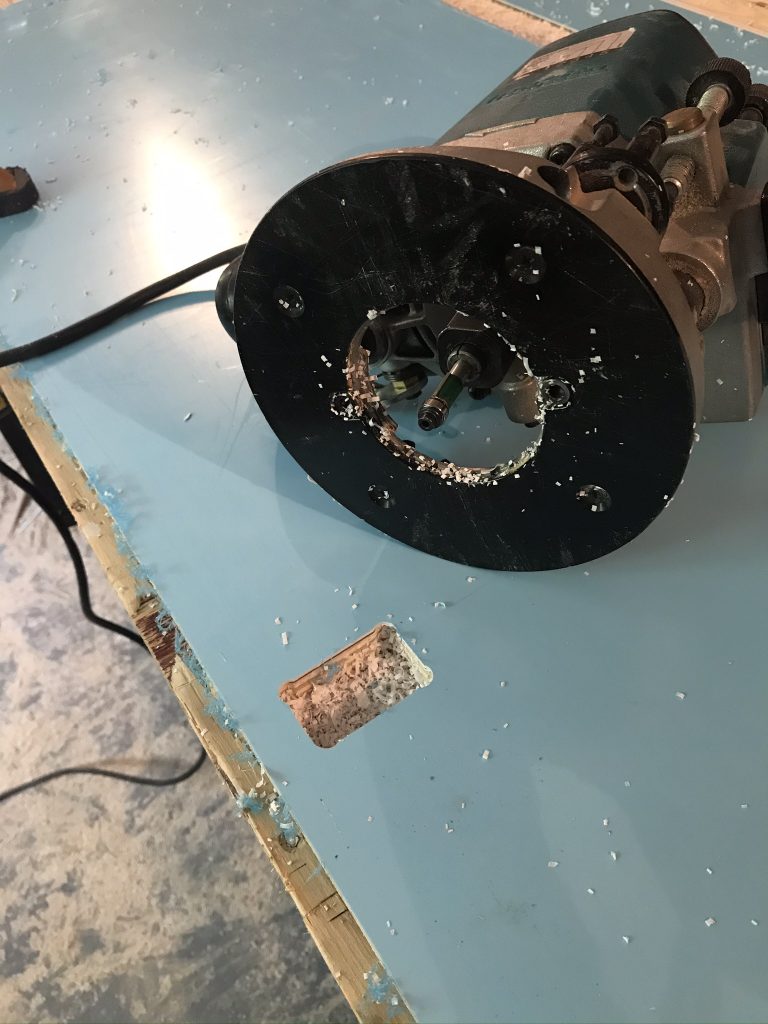
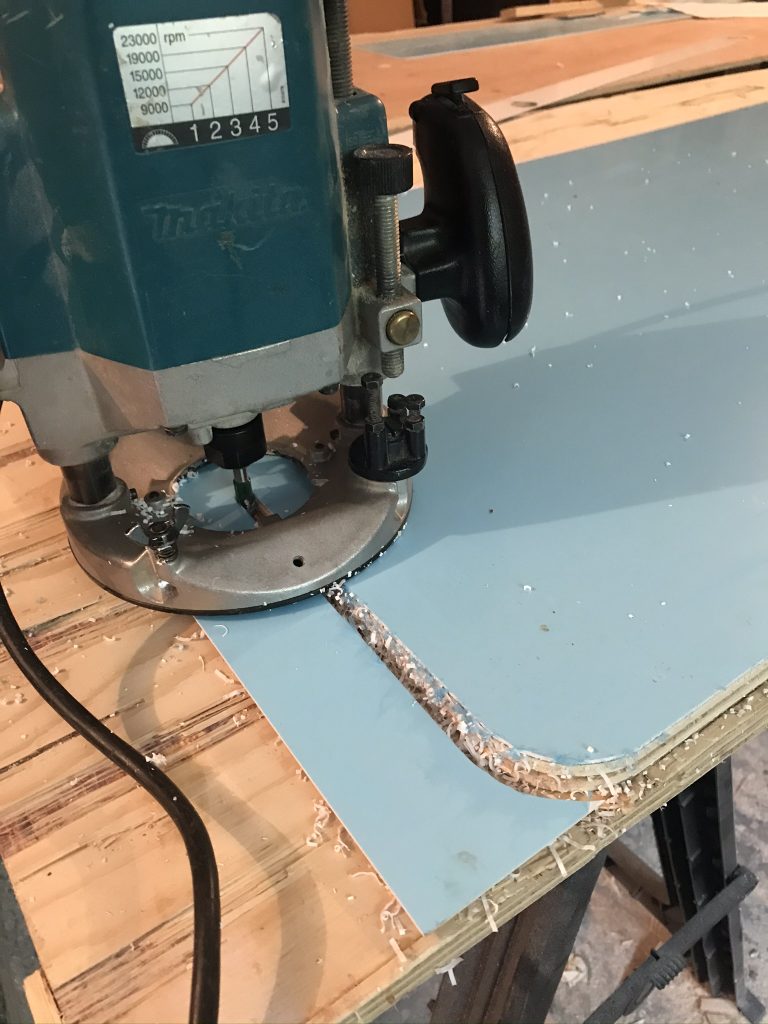
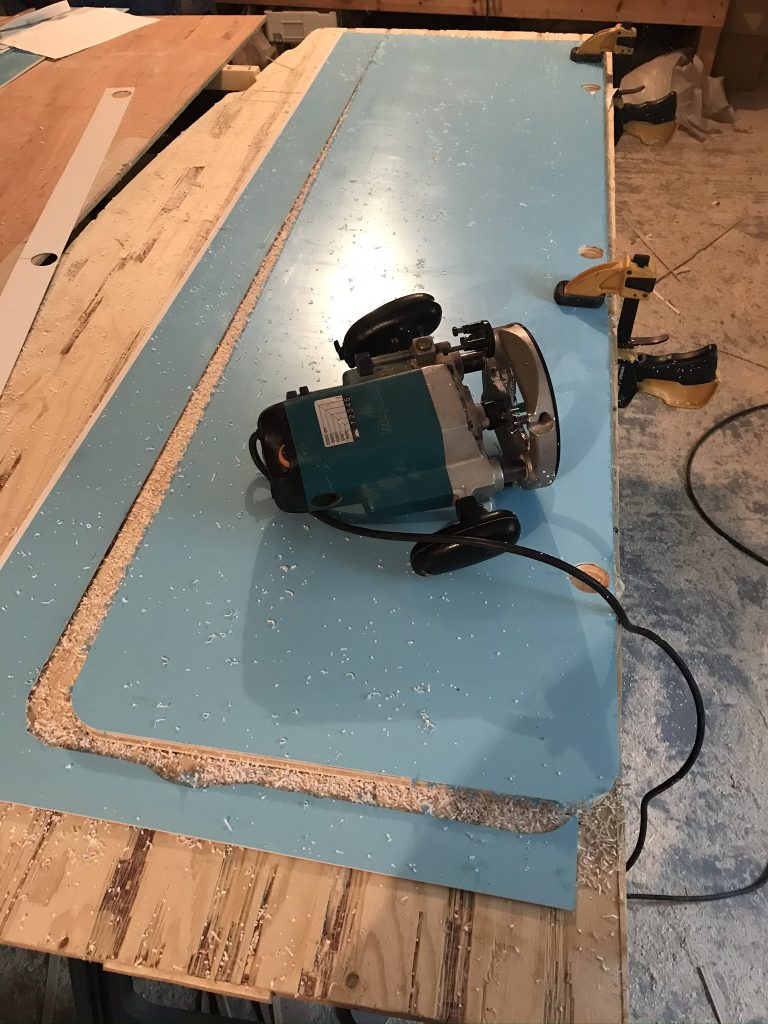
Below: I purchased 1.5mm thick white sheets (8 X 4) this has already been stuck to the bathroom door shown below using Sikaflex 512 adhesive. Its been left with weights on the top overnight to fully set. Its now ready for cutting. To make sure I get perfect edges I am using a ball bearing router (shown below) to cut around the sides. This type of router prevents me cutting into the panel door that’s below the white plastic. Its actually easy to use, just run the router around the edge and the excess is cut away, as simple as that.
If you are wondering why I didn’t add the white plastic wall panel after the wet-room was built? This is because the opening for the door is too small to accept such a large panel. It had to be built before assembly. Be careful you dont make this mistake (not that I did).
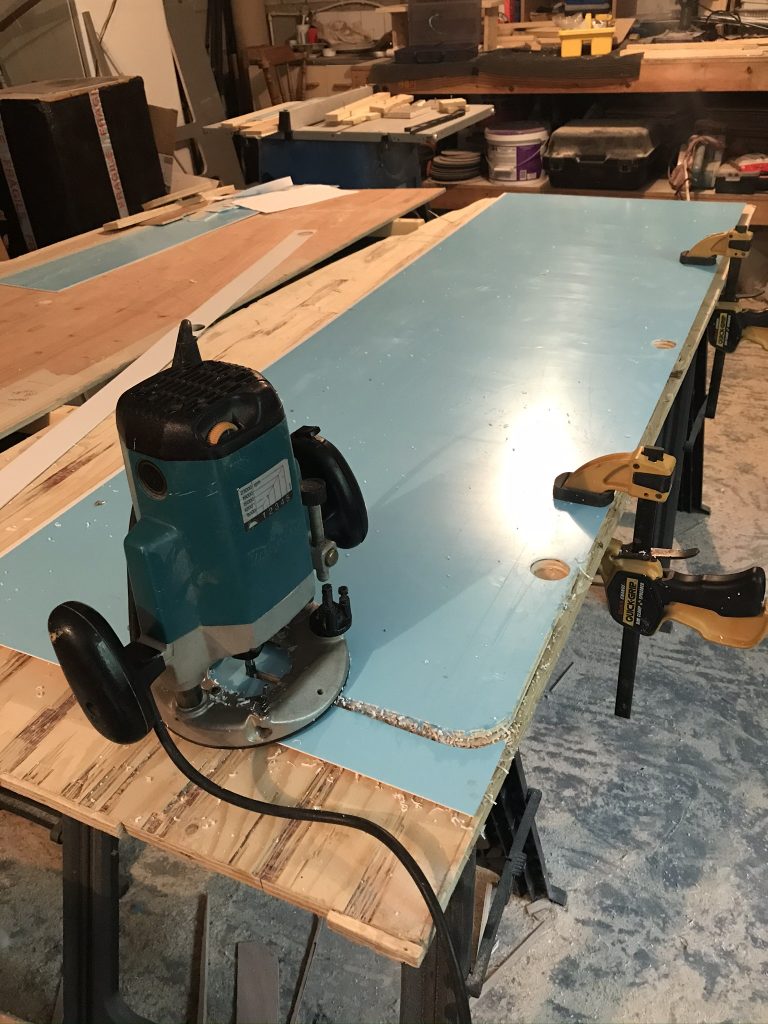
Below: Making the bathroom door
Below: before cutting the holes for the bathroom door hinges I made a simple template so I could check them and also make sure they aligned correctly. It isn’t necessary but it did make cutting safer and easier. I didn’t want to make a mistake at this stage as to make a new door would cost me a lot of time.
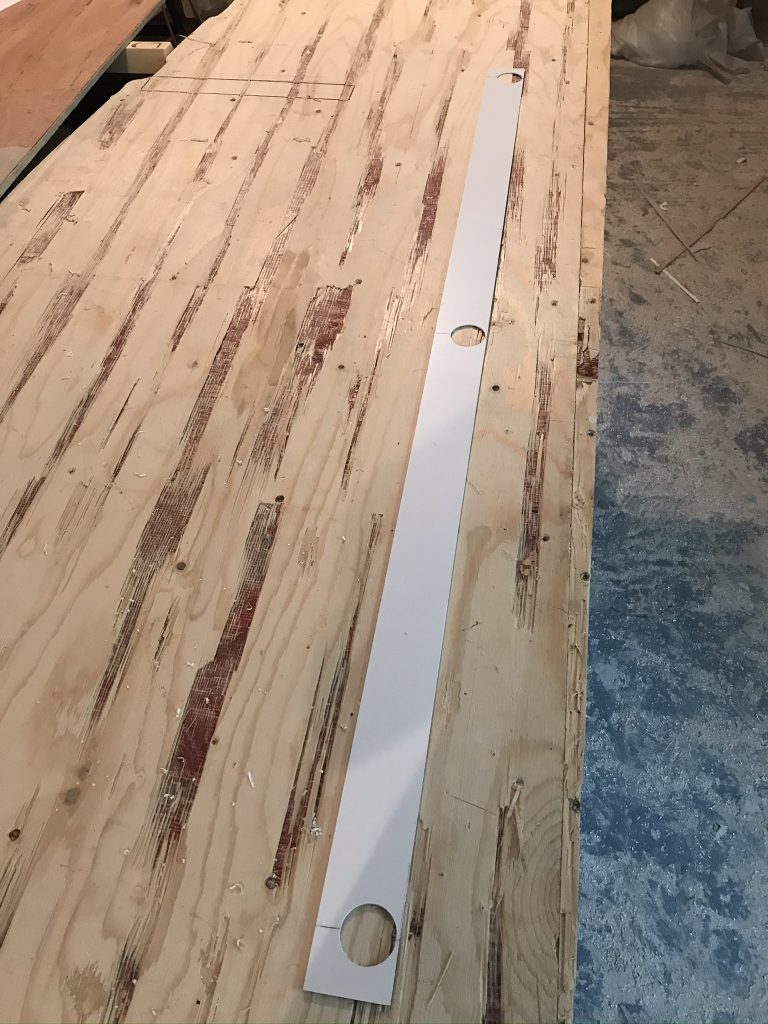
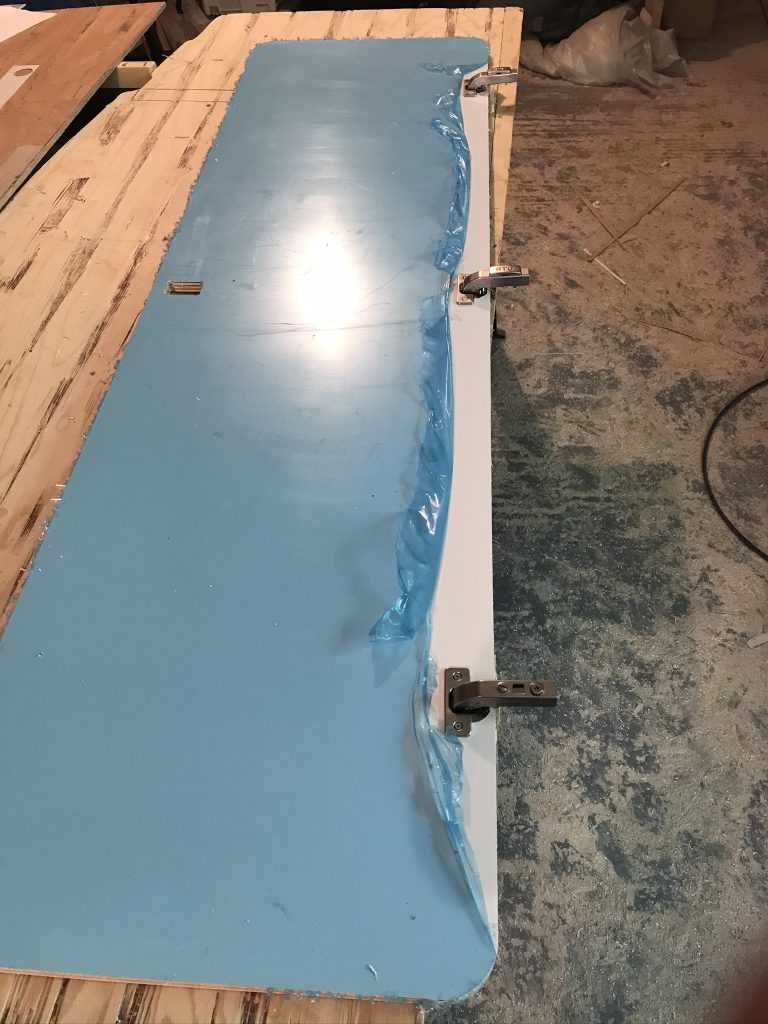
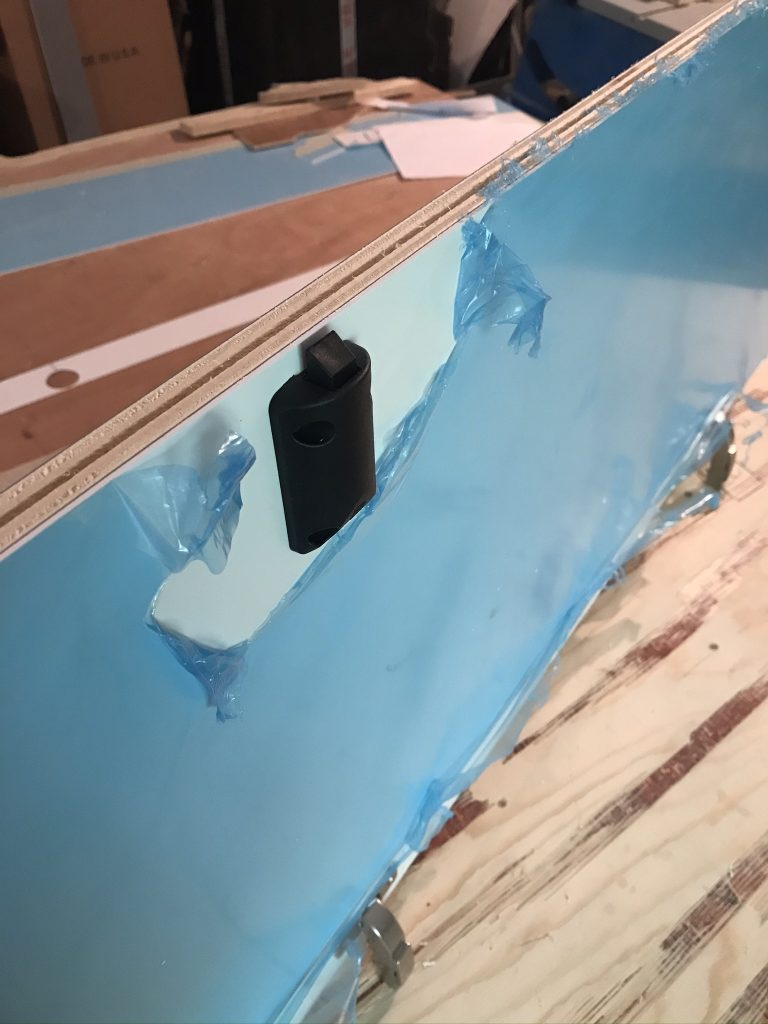
Hinges (shown below) are from
the following company
EVO MOTION DESIGN LTD
6 Westminster Road
Wareham
Dorset
BH20 4SP
TEL: 01929 55 00 00
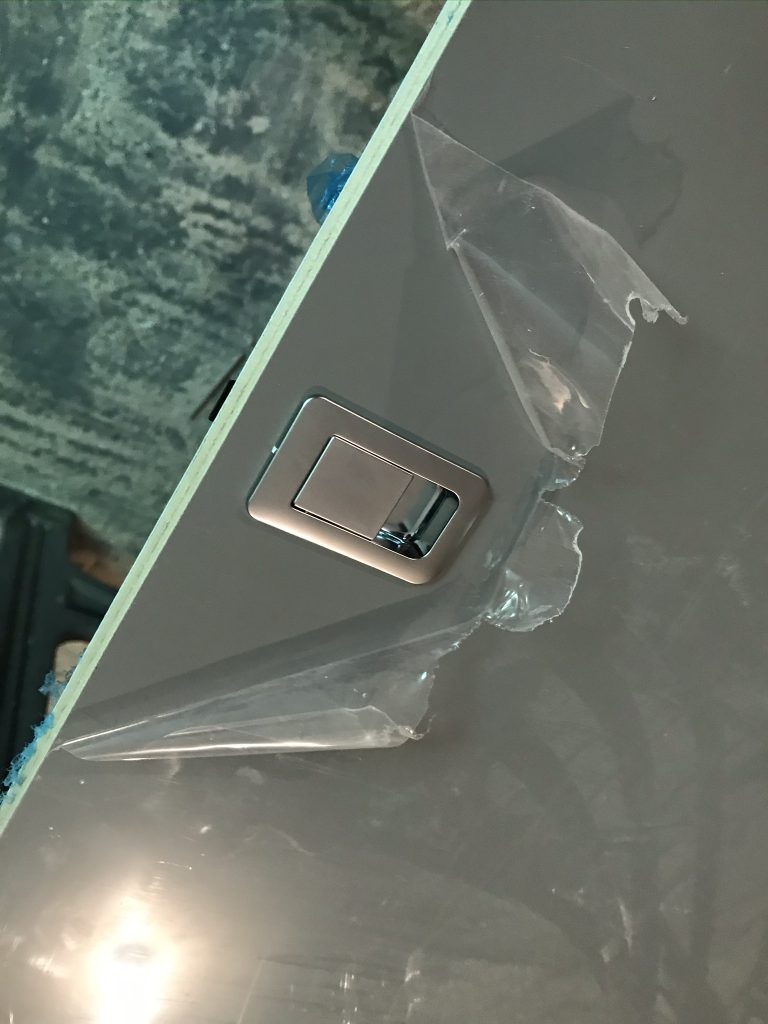
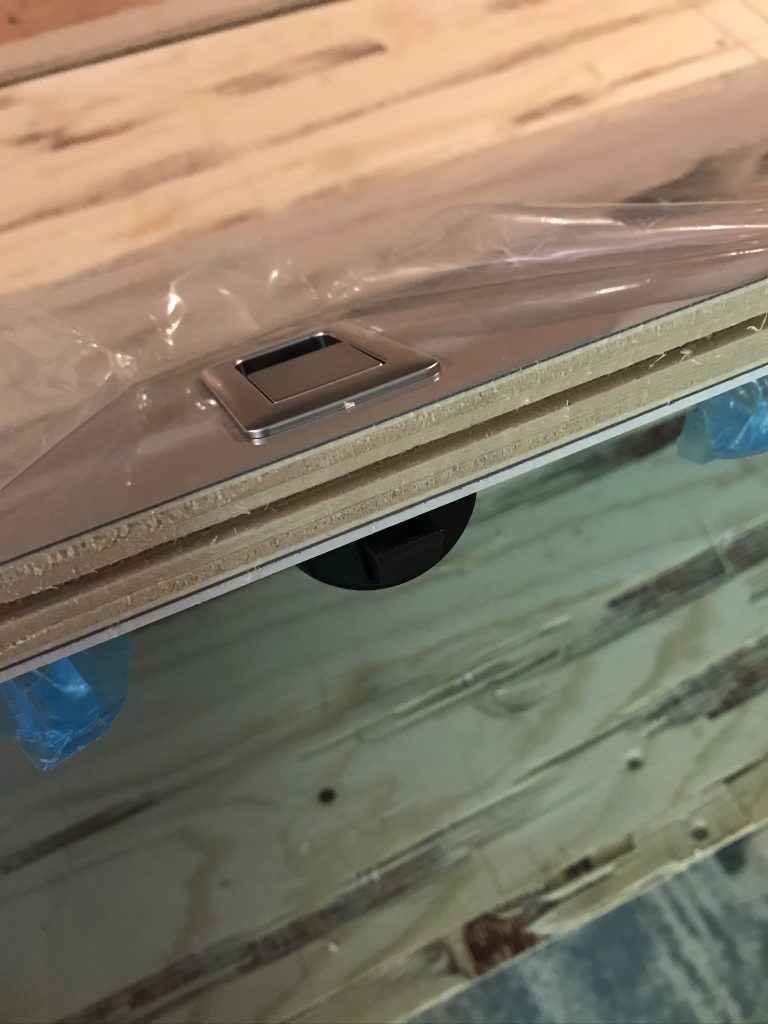
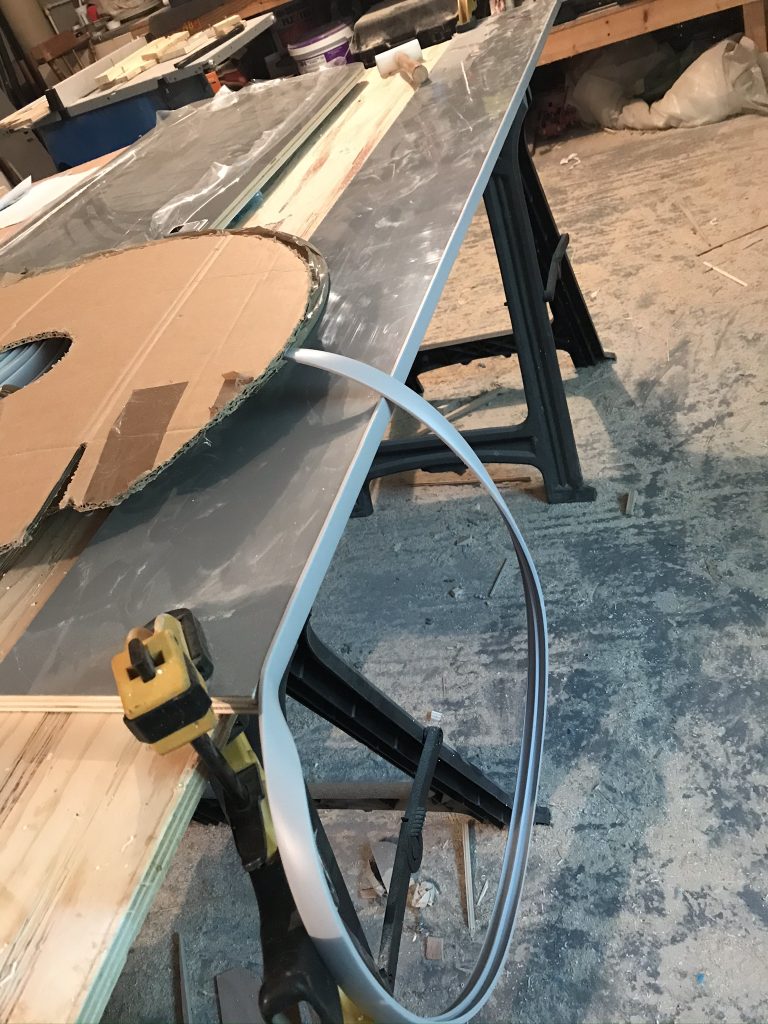
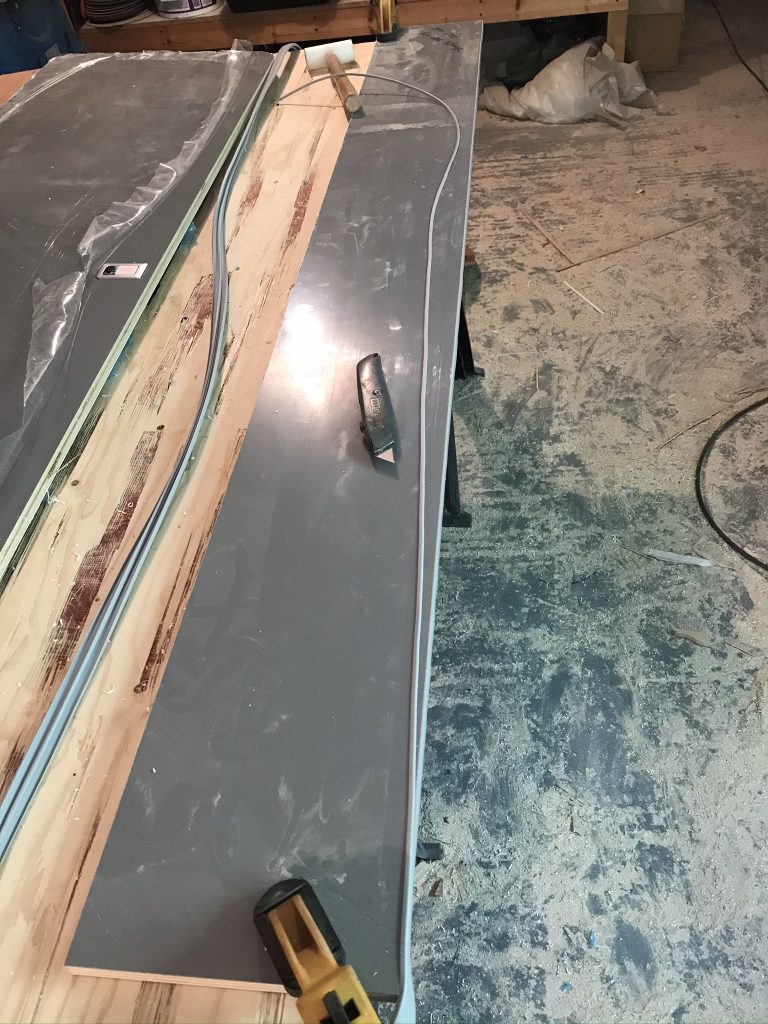
Below: Constructing the front large panel before assembly. Note the White plastic backing panel is already fitted. As mentioned above I needed to fit this sheet before the wet-room was assembled as it wouldn’t fit through the wet-room door.
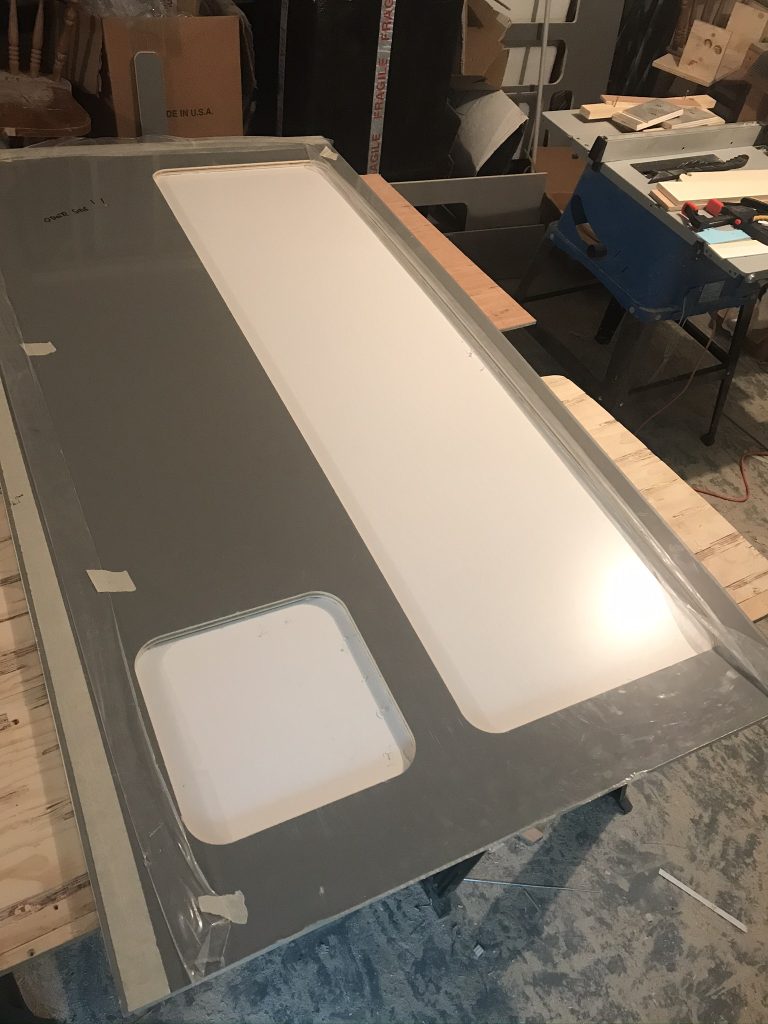
Below: The front panel is now fitted, this is a view from inside the wet-room looking out into the van.
Hidden Cables and Light Switch: I wanted an on/off switch fitting on one of the outside bathroom walls. I selected a position that is easy to reach and located around the side of the bathroom over the bed area as below. However, to fit this it meant I would have to hide the wires inside the wall. To do this is shown in the next image
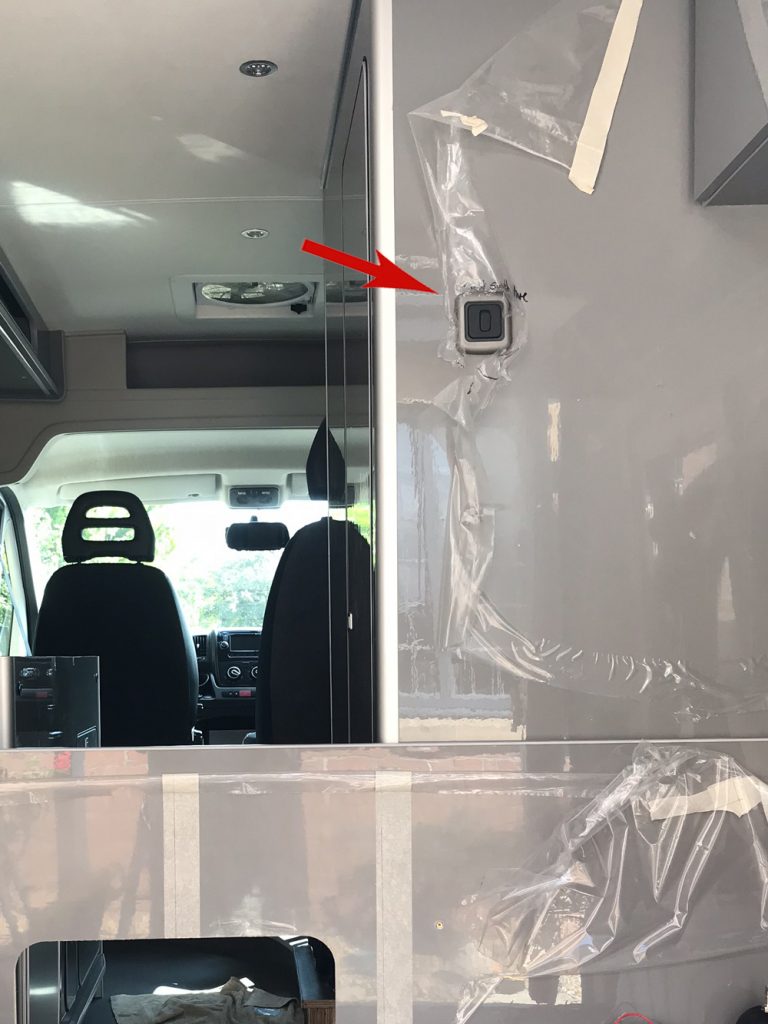
Below: The Side Wall of the Bathroom. This recess (use a router) will hide the light switch on/off wires. The recess will be covered with the Bathroom’s White Panels, thus hiding any wires.
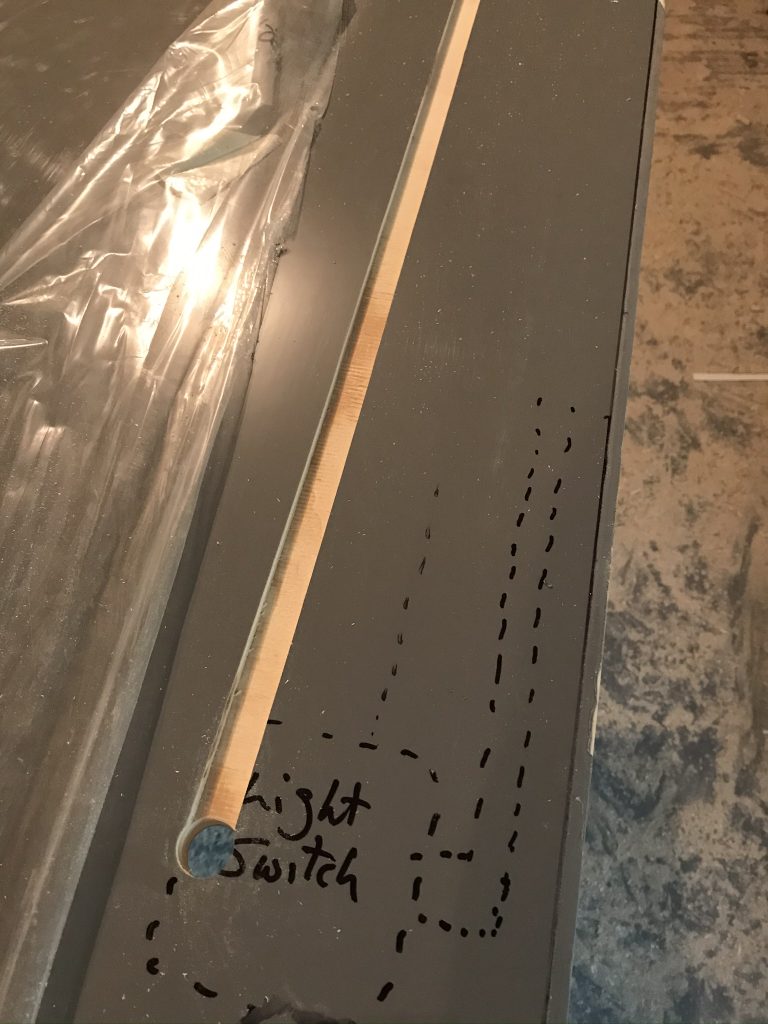
Below: Inside the Bathroom, shows the hidden wires now covered with the white panel. I separate roof panel will be fitted with a light so all the wires will be hidden
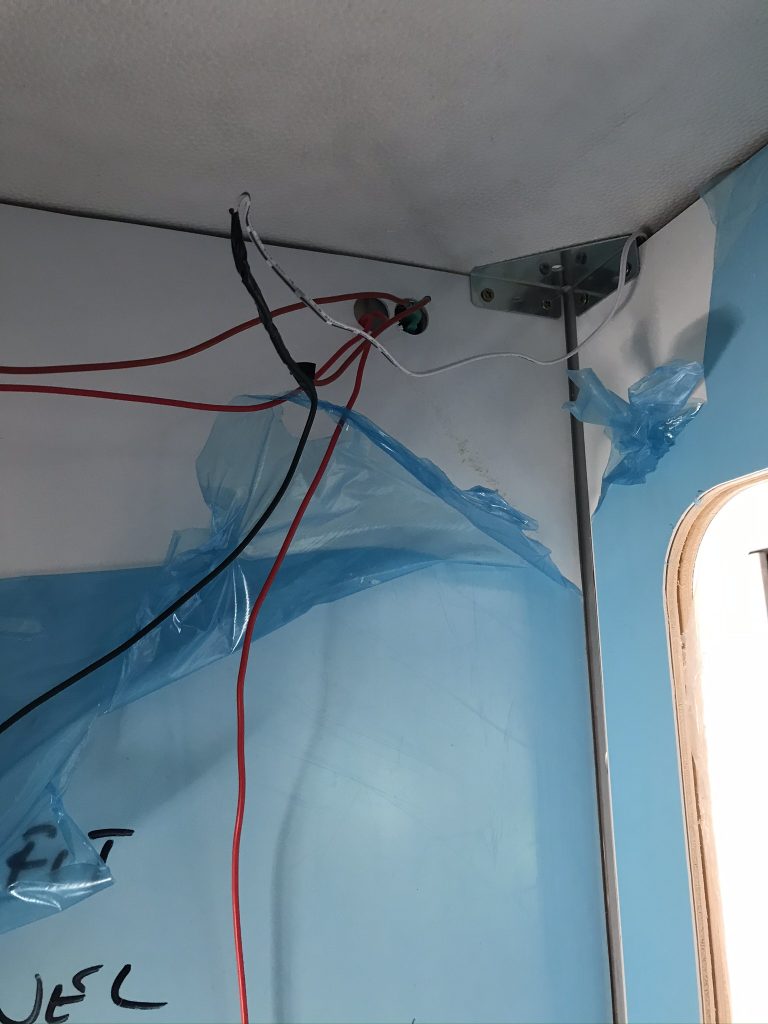
Below: The Bathroom roof is fitted and all the wires are now hidden.
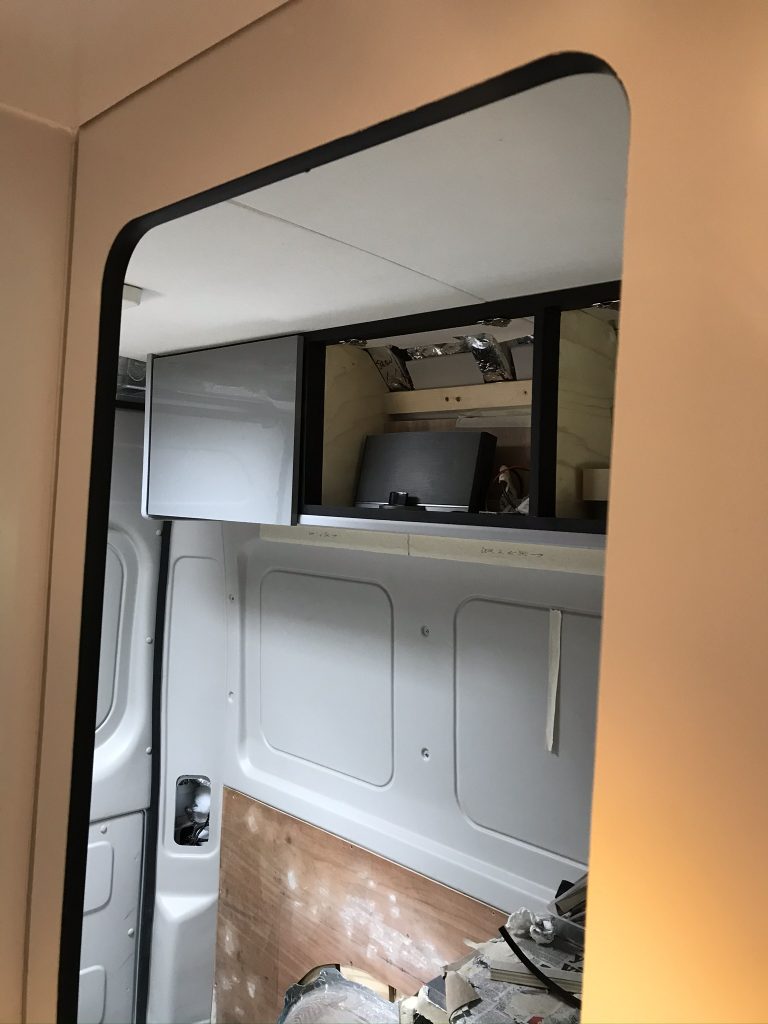
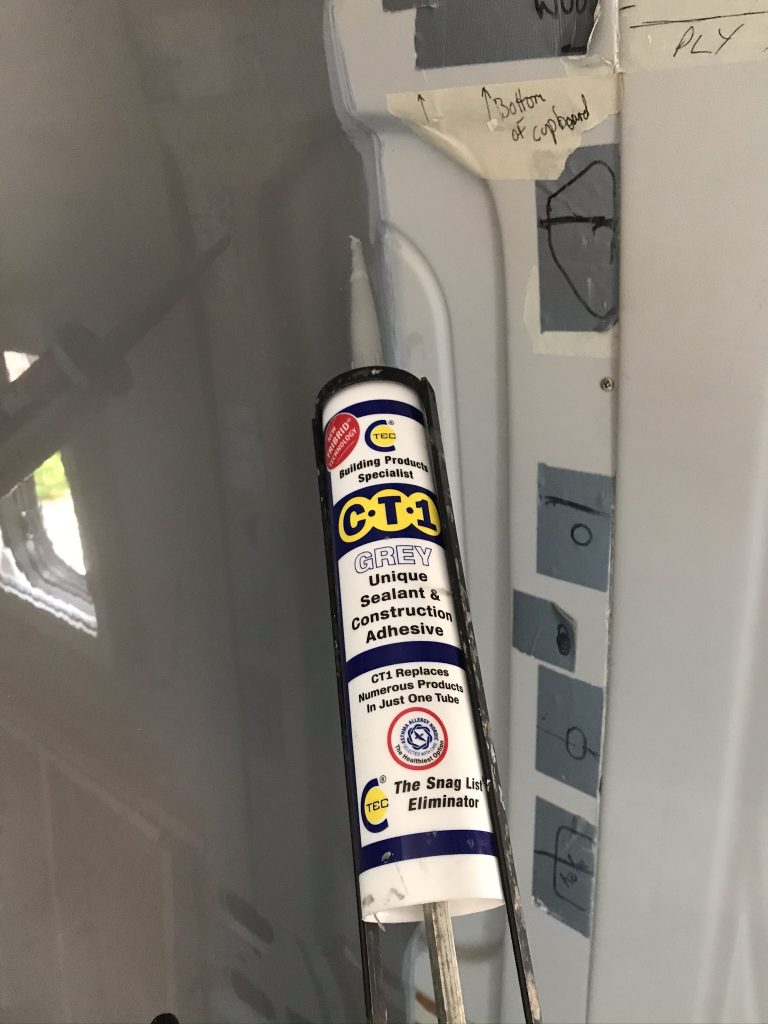
Below: The next job is to make sure that the wet-room walls stay in place and that a gap doesnt appear between the van panels which are flexible. The walls are screwed in place and below I am adding a product called CT1 between wall and panel. CT1 is super strong and flexible, it is stronger than Sikaflex 512 so be careful where you use it, only use it if you never plan to remove or seperate a panel.
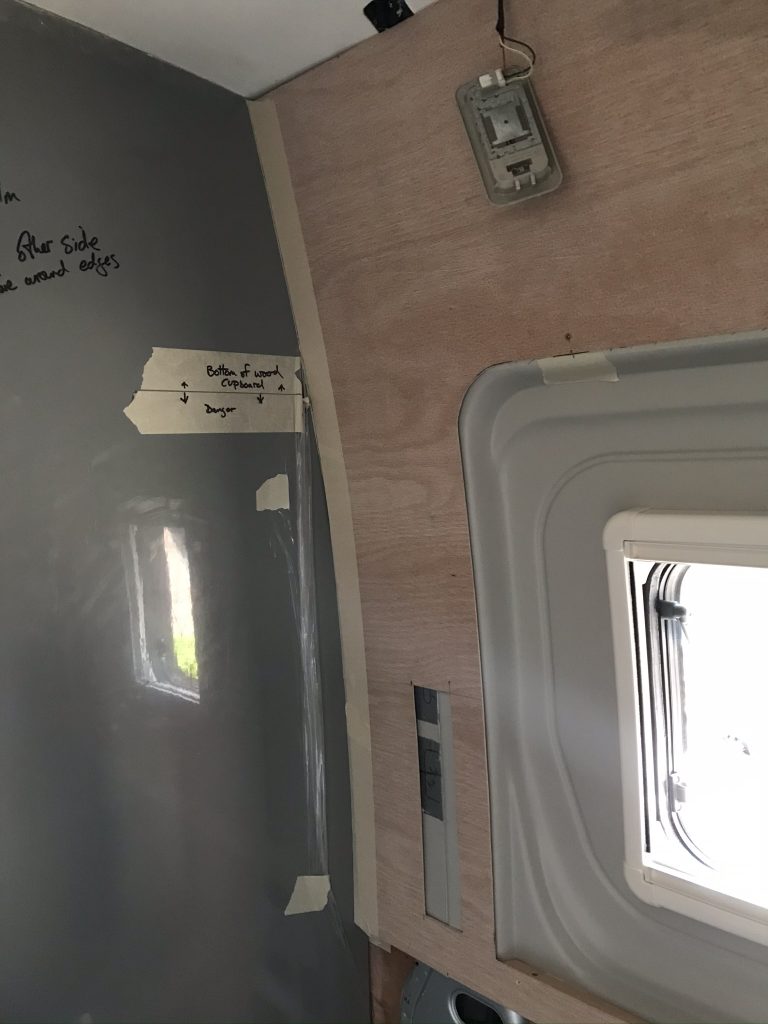
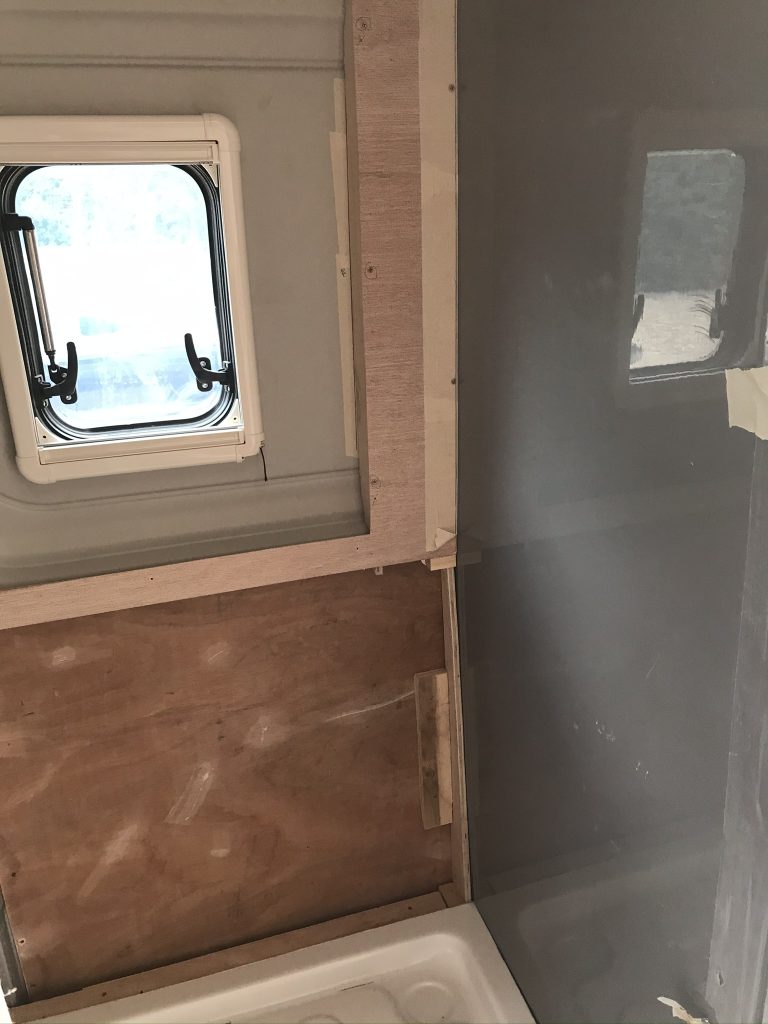
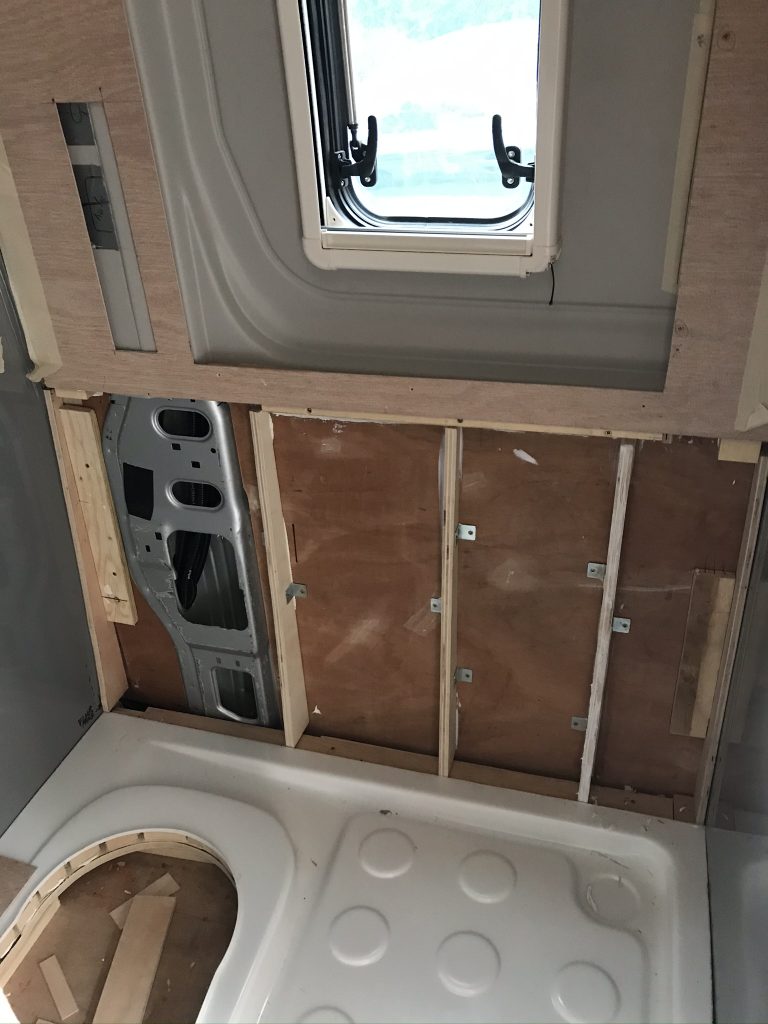
The panel below is curved. Its made out of two sheets of 3mm ply (fairly thin and easy to bend). The first sheet runs horizontal and is fitted to the wall. Then the second sheet is glued to the first but running vertical. This gives the panel a lot of strength plus a solid curve. The wood is then covered with the white plastic sheet or board further adding to its strength. This is not over important but good to have as all walls are less flexible and firm, they are pretty solid when pressed.
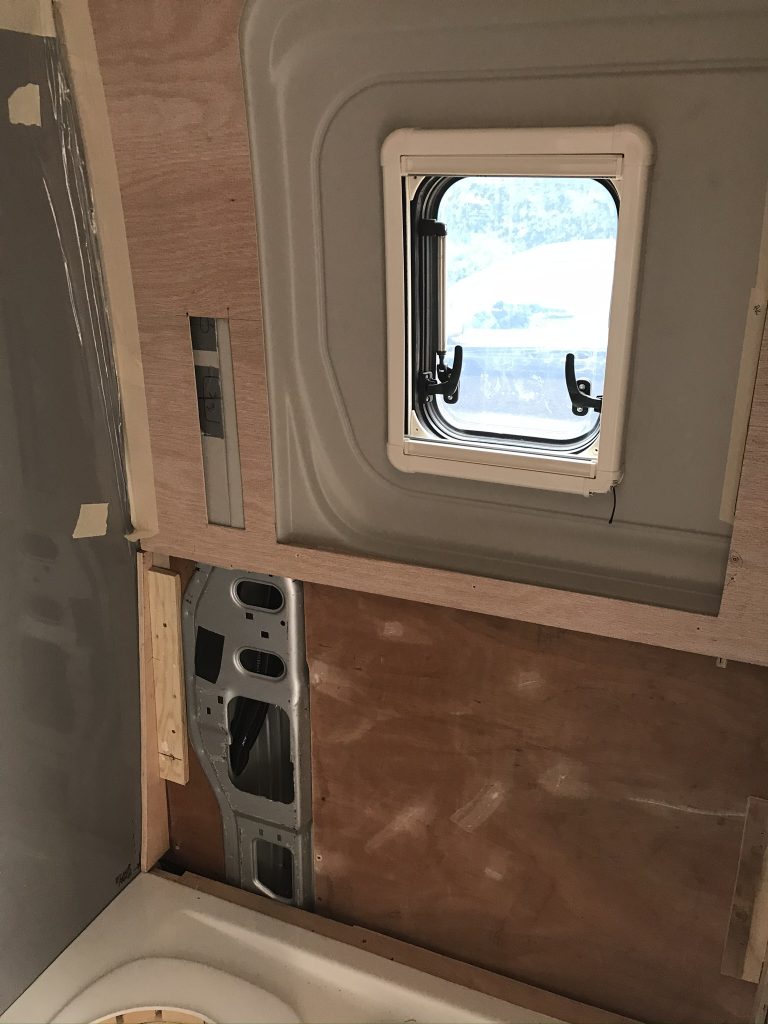
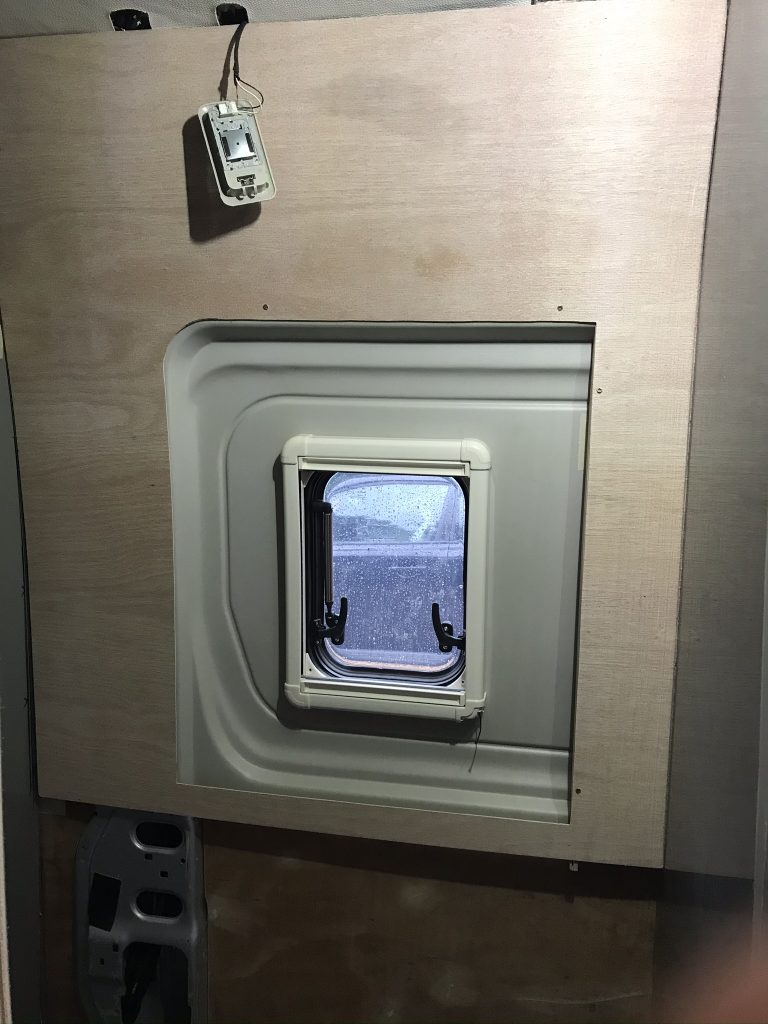
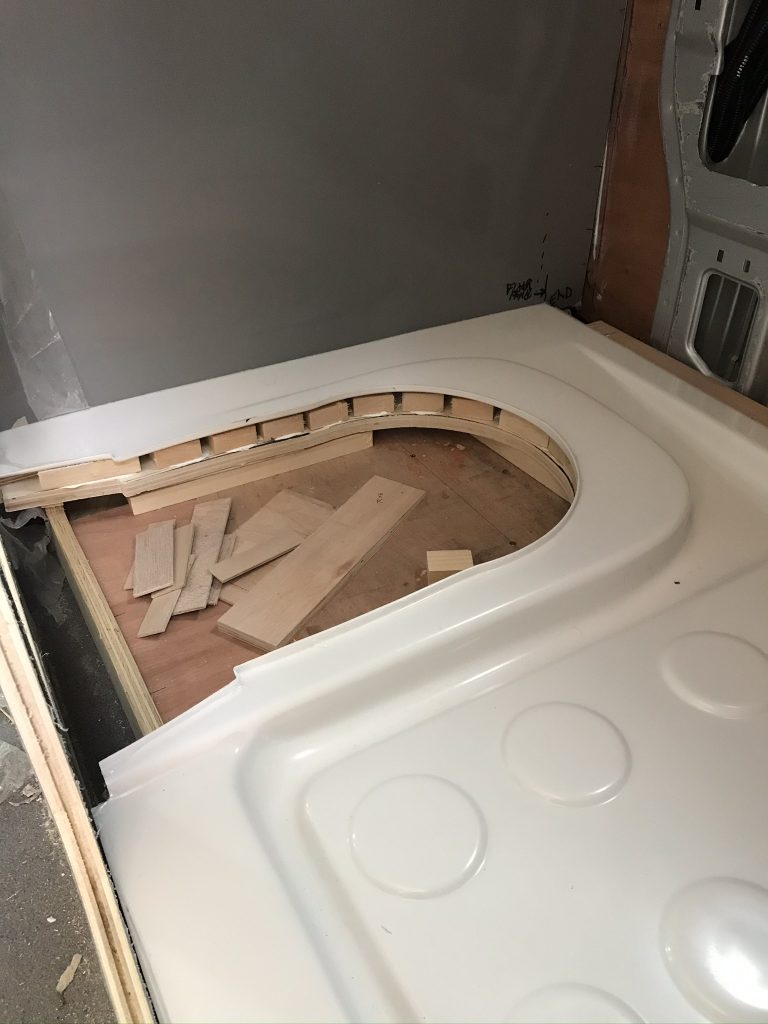
Below: The bathroom floor shower-tray being fitted. I added more wood blocks than shown and then injected foam into the gaps. The reason for this was to make a very firm base. These panels can crack over time and cracking is often due bending. Make sure your base is properly supported and firm, its not something that can easily be replaced without ripping it out.
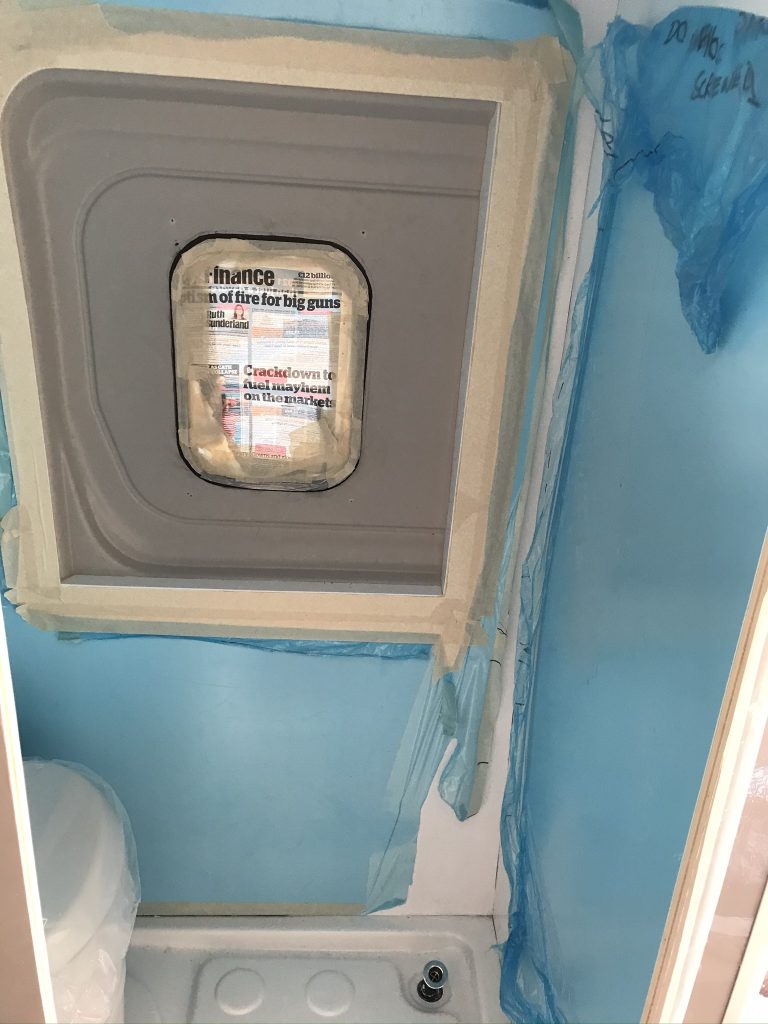
Below: Now that the walls are covered and sealed the only problem is that the walls are bright white and the area around the windows is beige. I could of course leave it as it isn’t too bad. But I want the entire room to be the same colour so below I am masking around the window as I plan to spray it. Before I do, I will explain the type of paint I will use, do not use any paint, you need a special plastic paint. (I will explain further down this article)
The toilet is fitted and the area around the window is masked ready to be sprayed white using Kolorbond Bright White
Technispray Paints Ltd
Catherine Street
Aston
Birmingham
B6 5RS
Email: info@kolorbond.co.uk
Tel: +44 (0)121 326 8020
Fax: +44 (0)121 327 1507
Plastic Paint: Its important to use the correct paint. The paint above is specially formulated for plastic, it wont fade, it wont chip and if you were to spray a thin strip of plastic and tie it into a knot it wont flake or come off. In other words once its on, it stays on. However it costs £40 a litre, it’s not usually available on the high street it’s mainly used by the trade. I managed to buy half a litre.
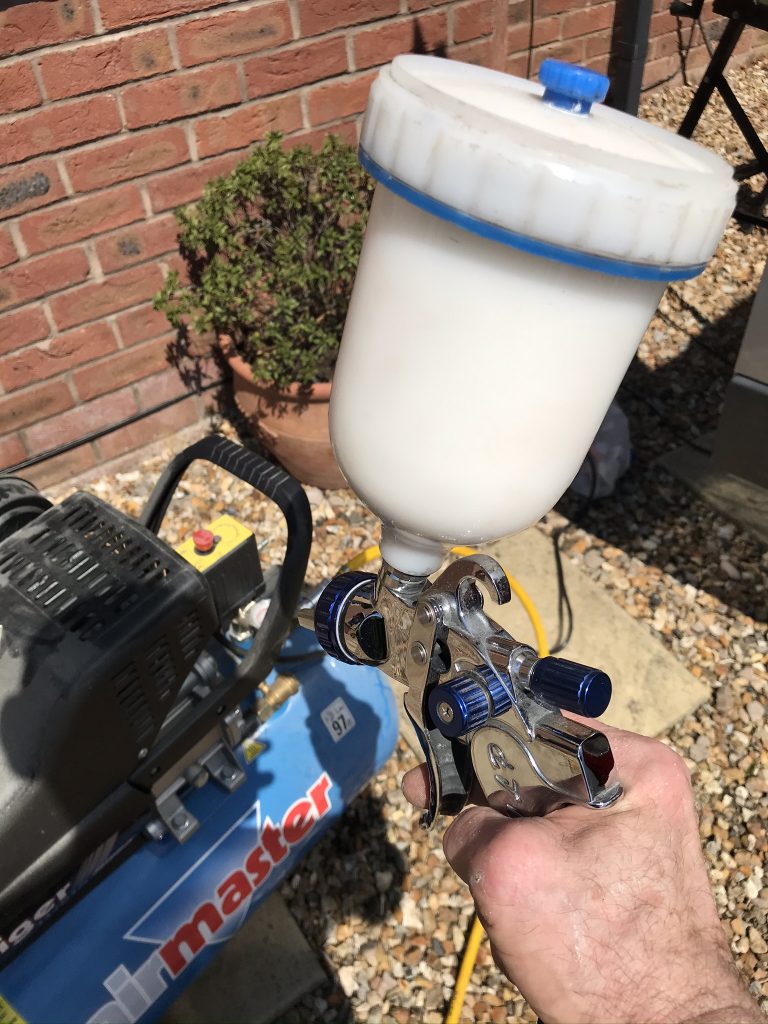
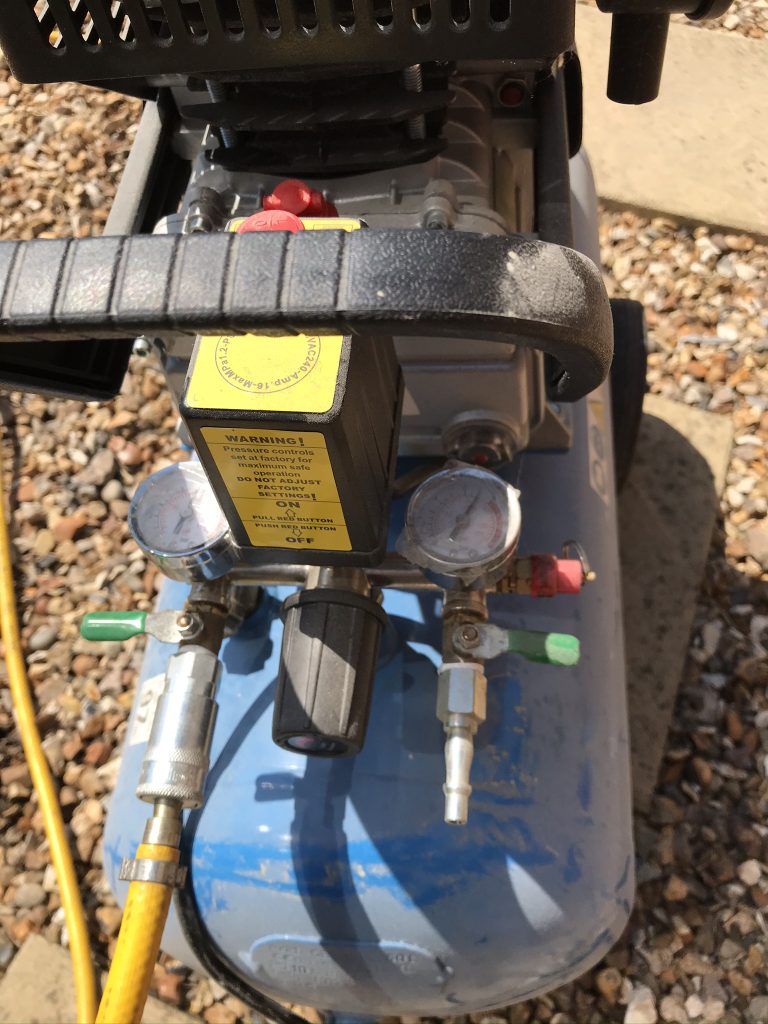
To use, requires a compressor, nothing special, you can spray at 40 psi and the paint comes ready to apply (you dont need to thin it) just make sure you prepare the area well (see the Kolorbond website for details, link above)
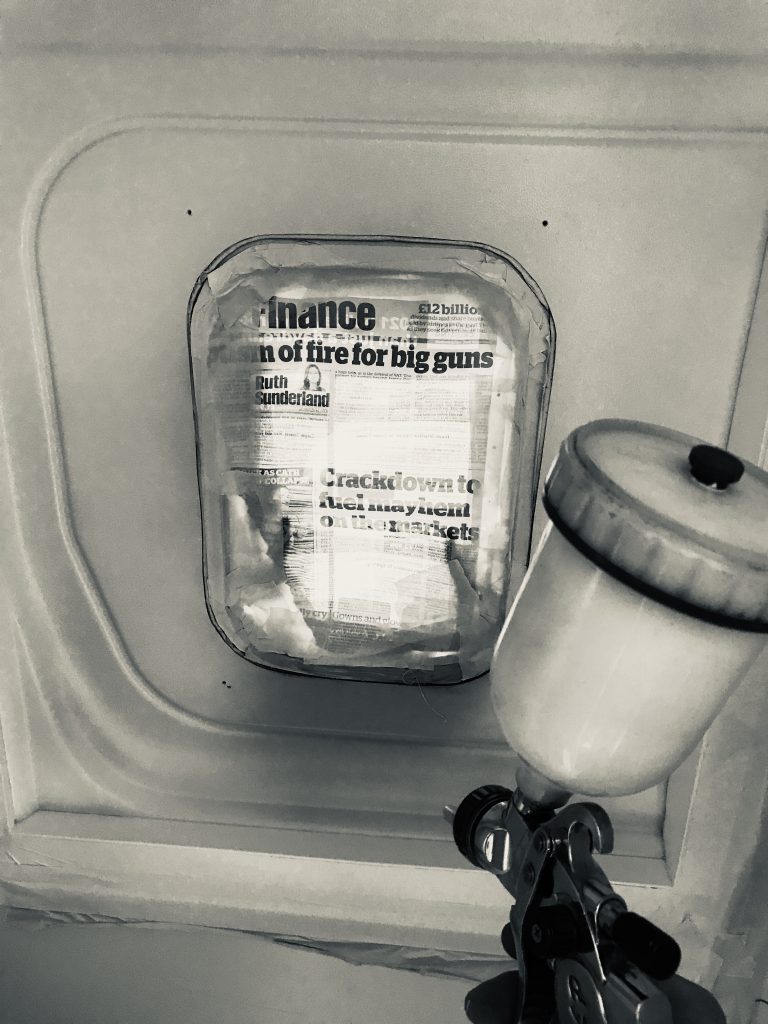
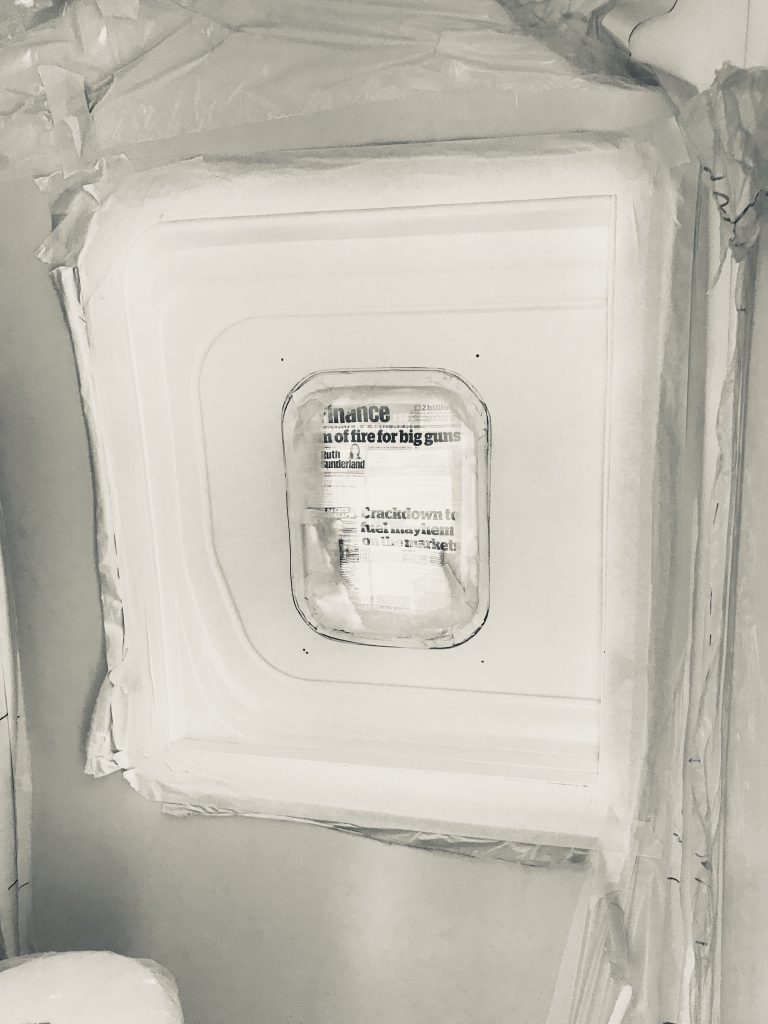
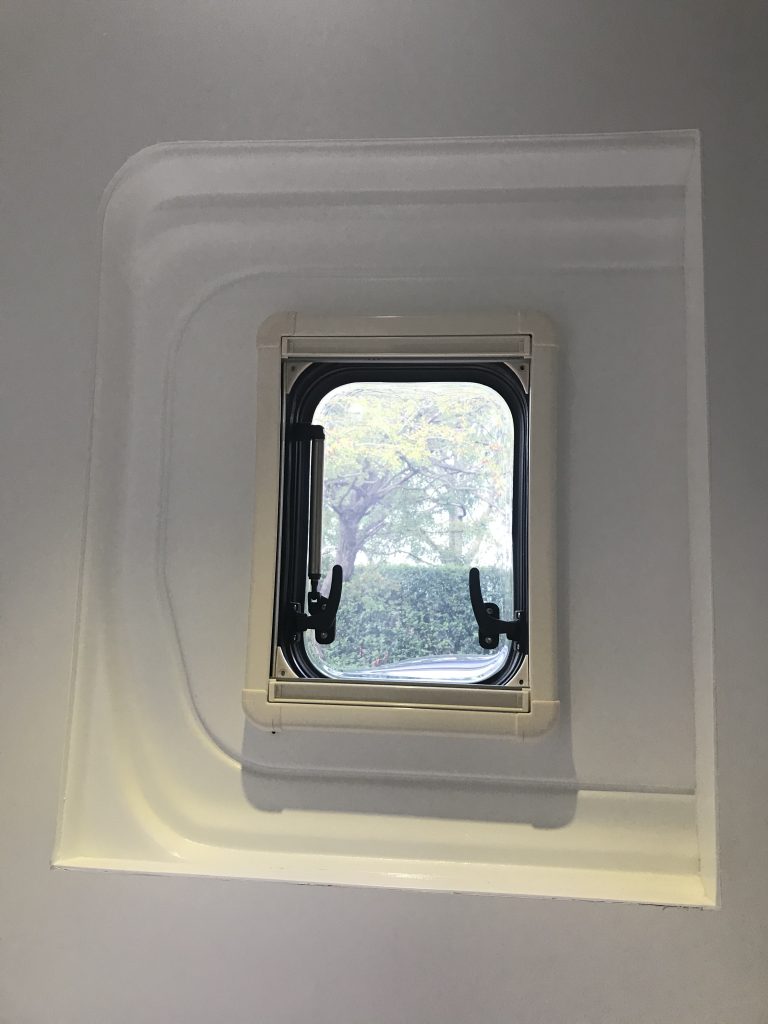
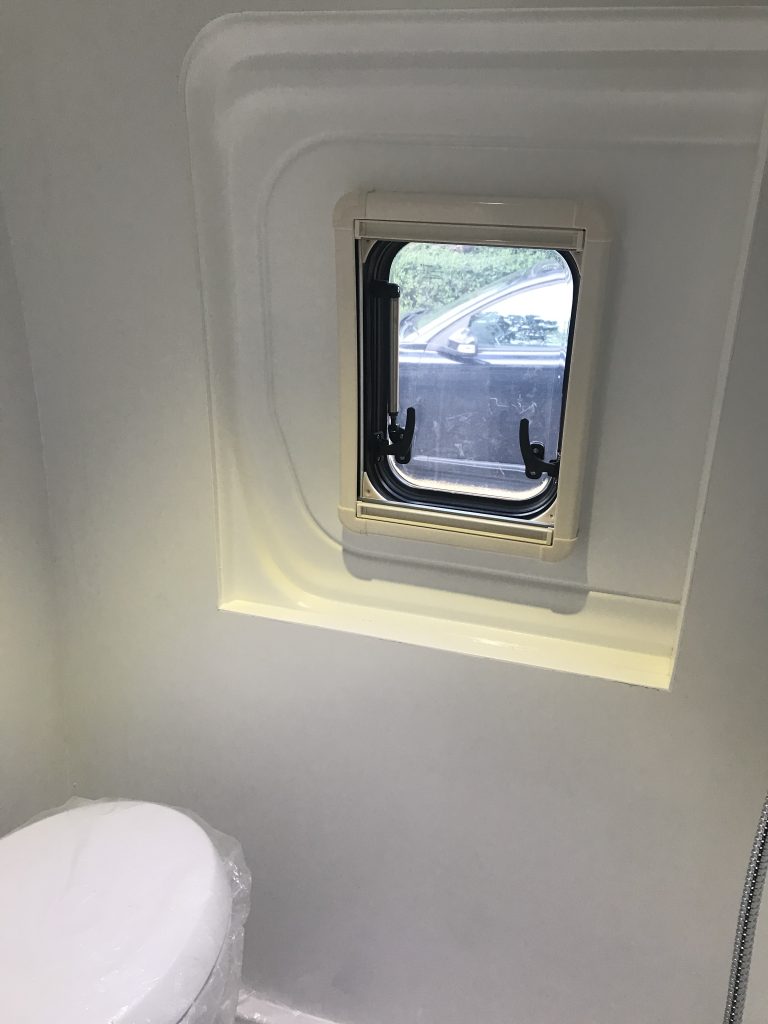
Below: The images aren’t too good but the walls are all the same colour, bright white. A heating vent will later be added so that the room can be used to dry wet clothes.
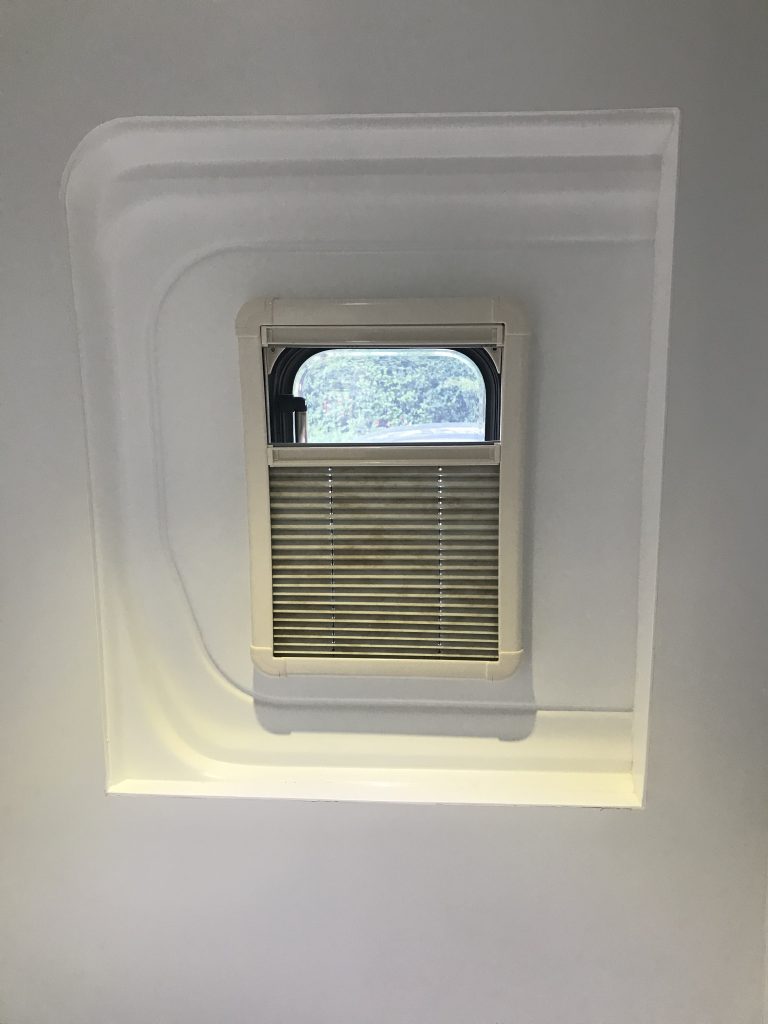
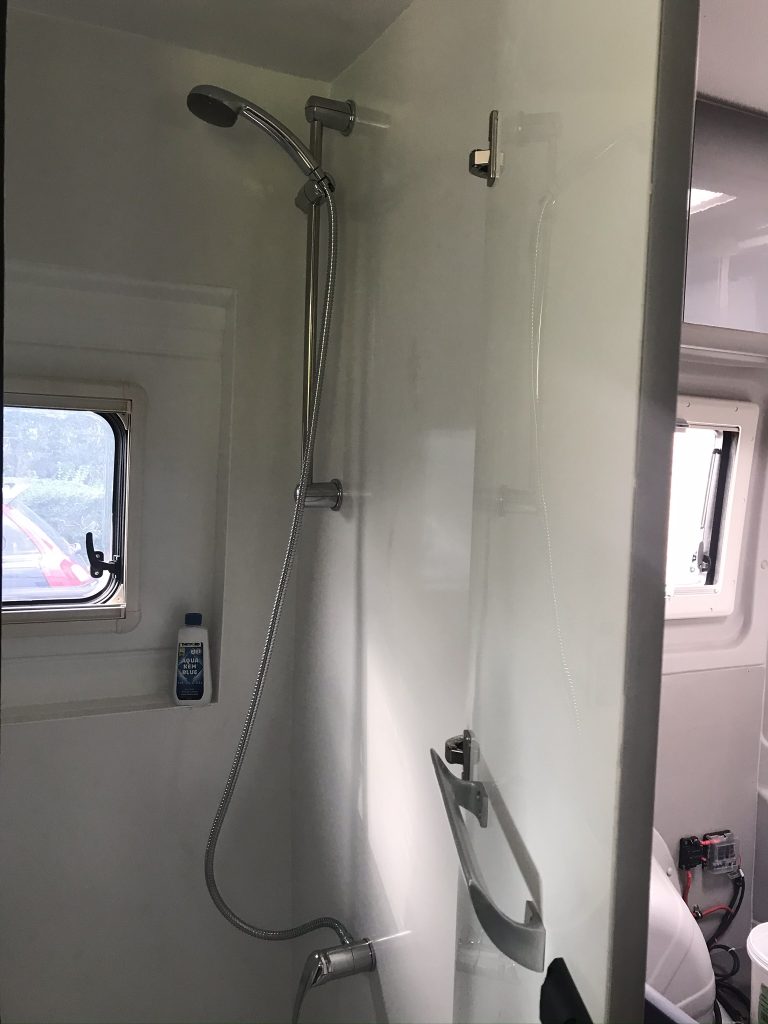
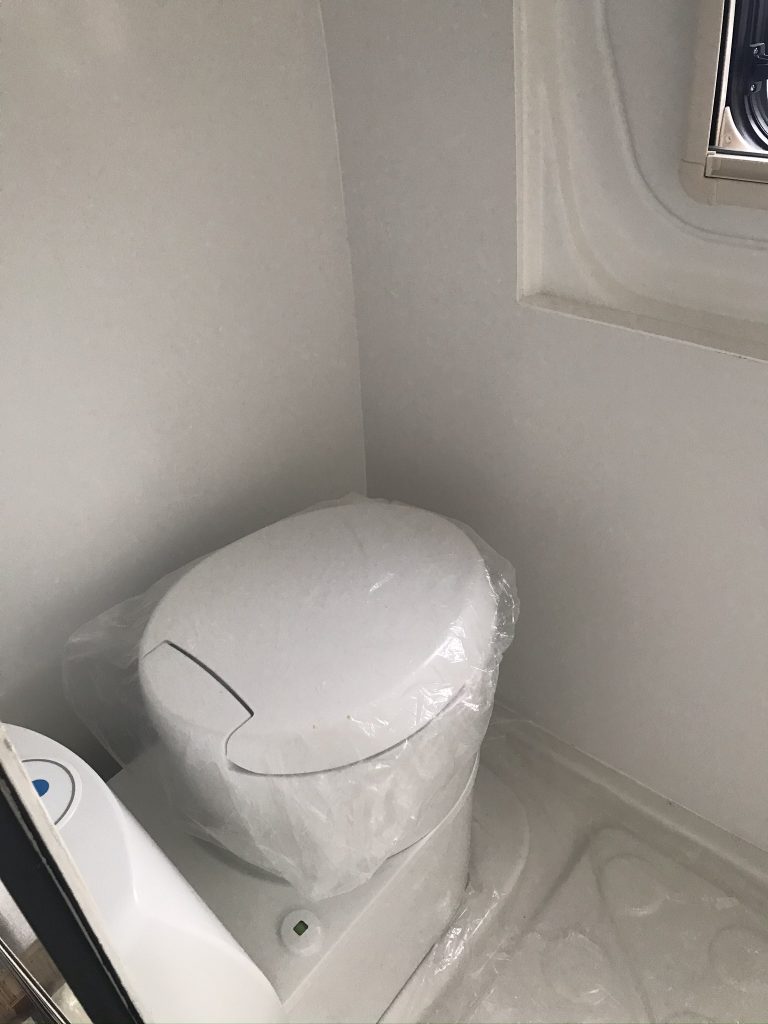
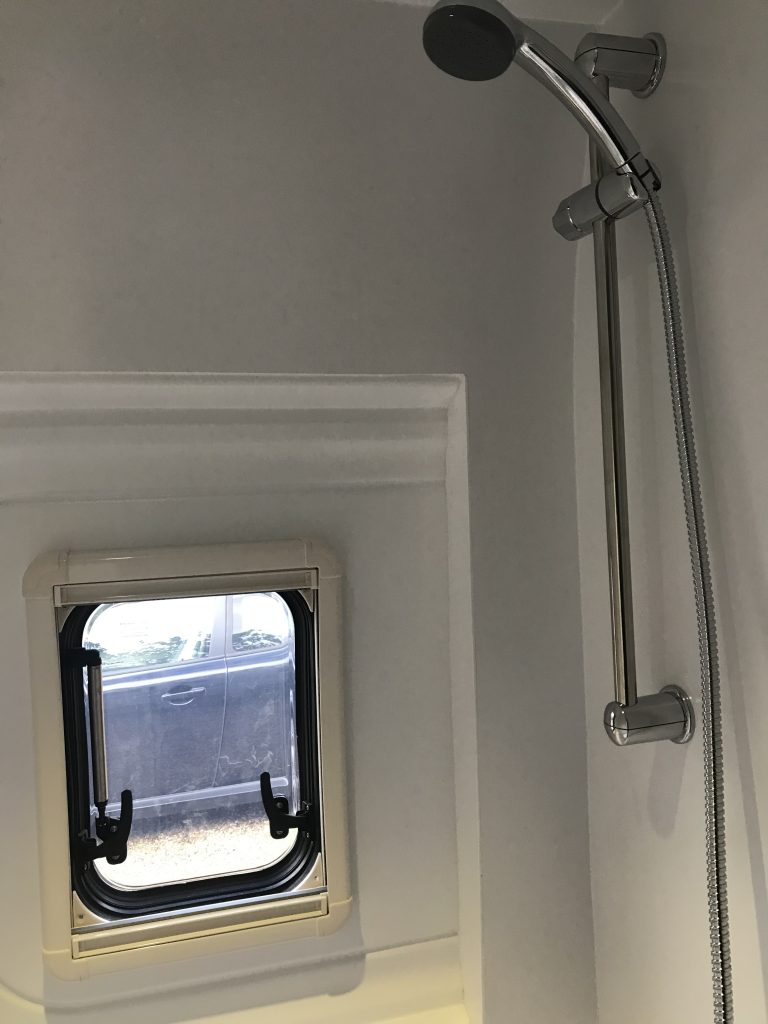
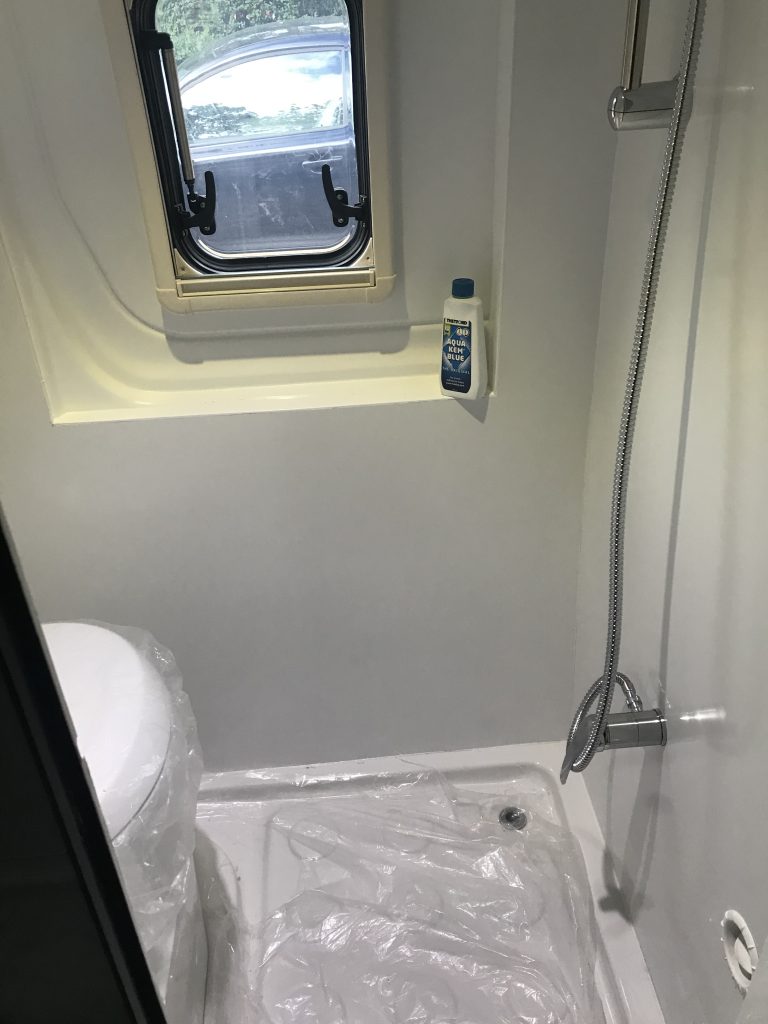
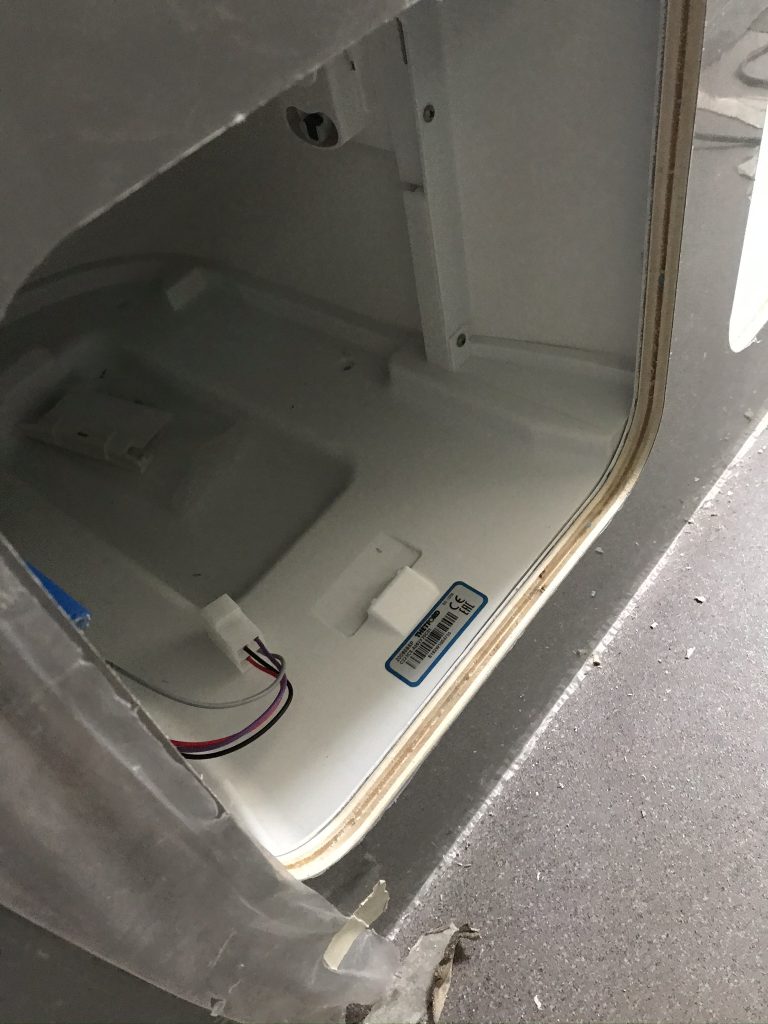
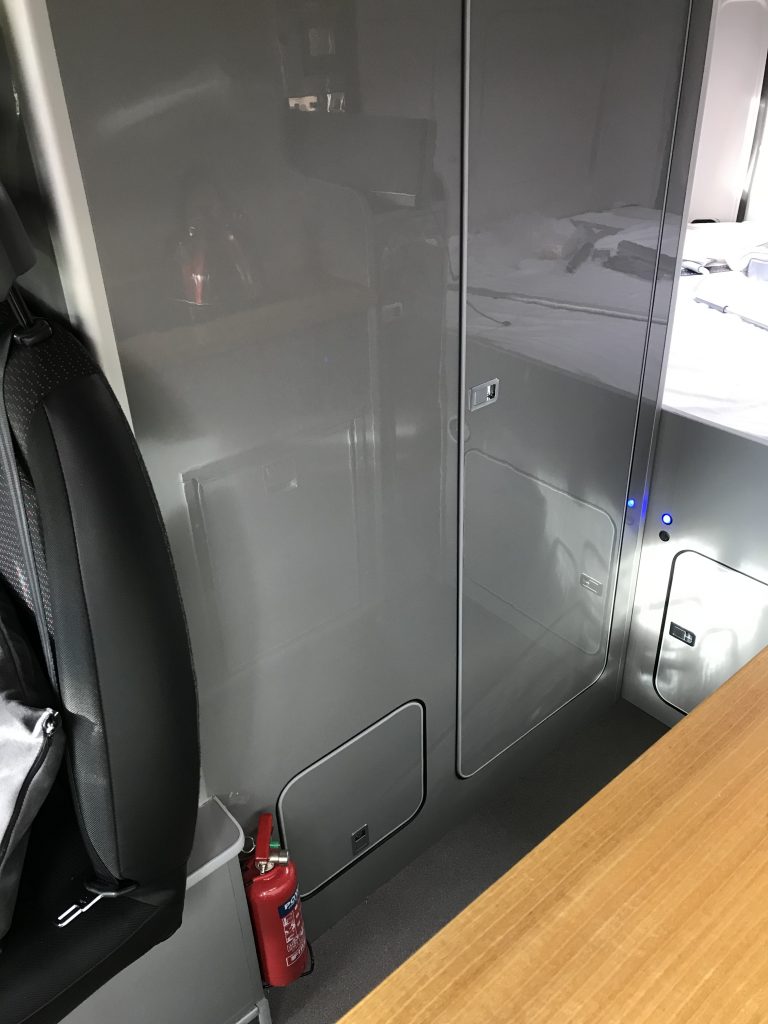
Below: The Thetford Toilet access point. This is now inside the van. I prefer this method to making more holes on the outside. Since fitting I can find no negative points, or any valid reason why it shouldn’t be fitted on the inside of the vehicle.
