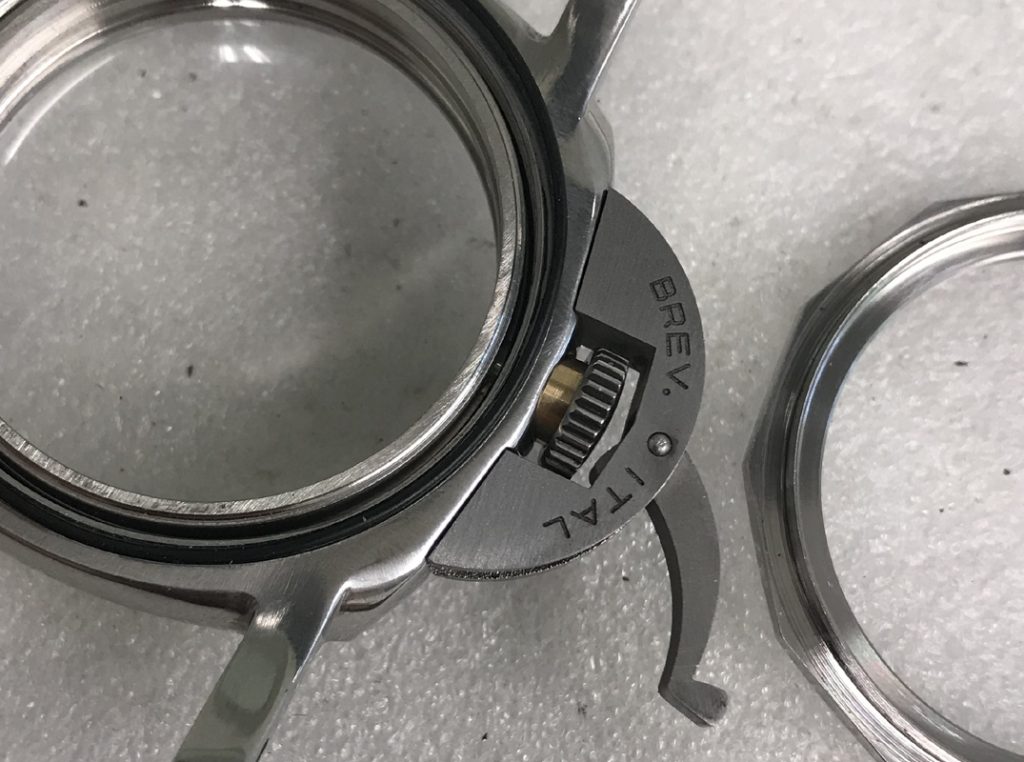
6152 How to build stage 55
Fitted, a good Crown Guard should fit neatly onto the case.
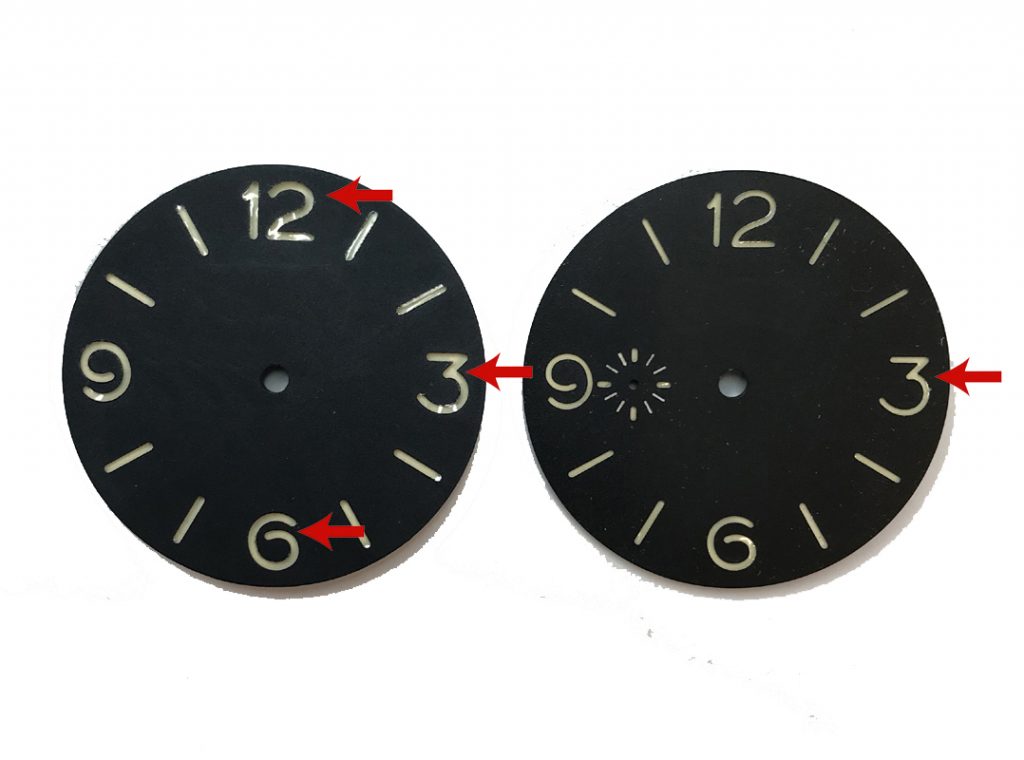
6152 How to build stage 56
The numbers on this dial are filled with clear resin the same as the authentic dials (not a plexi). The anodized dial surface has also been aged. Different watches had different Indices (number) thickness. For example the non sub-dial MM Dial (Rolex movement) had slightly thicker numbers than the sub-dial MM Dial (Angelus Movement). This is because of the different ages of the dial. The early dials (1940’s) had quite thick numbers (note the 3646) and the later 1950’s dials had thinner numbers (6152 LP and MM). Both dial type number thickness do not have to be totally accurate, the thickness varied a little on all types.
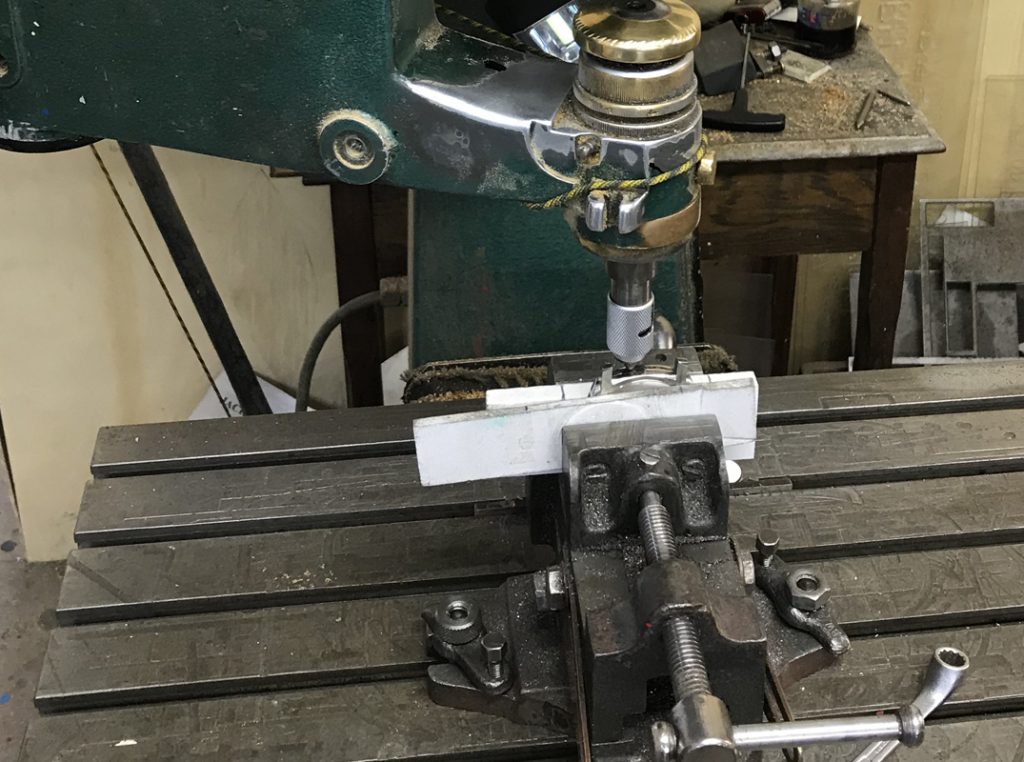
6152 How to build stage 57
The authentic dial was Pantograph Engraved this is a “hand operated” machine. Modern dials are CNC engraved, (not the same as Pantograph as its too neat). Here you see a true Pantograph machine from 1966.
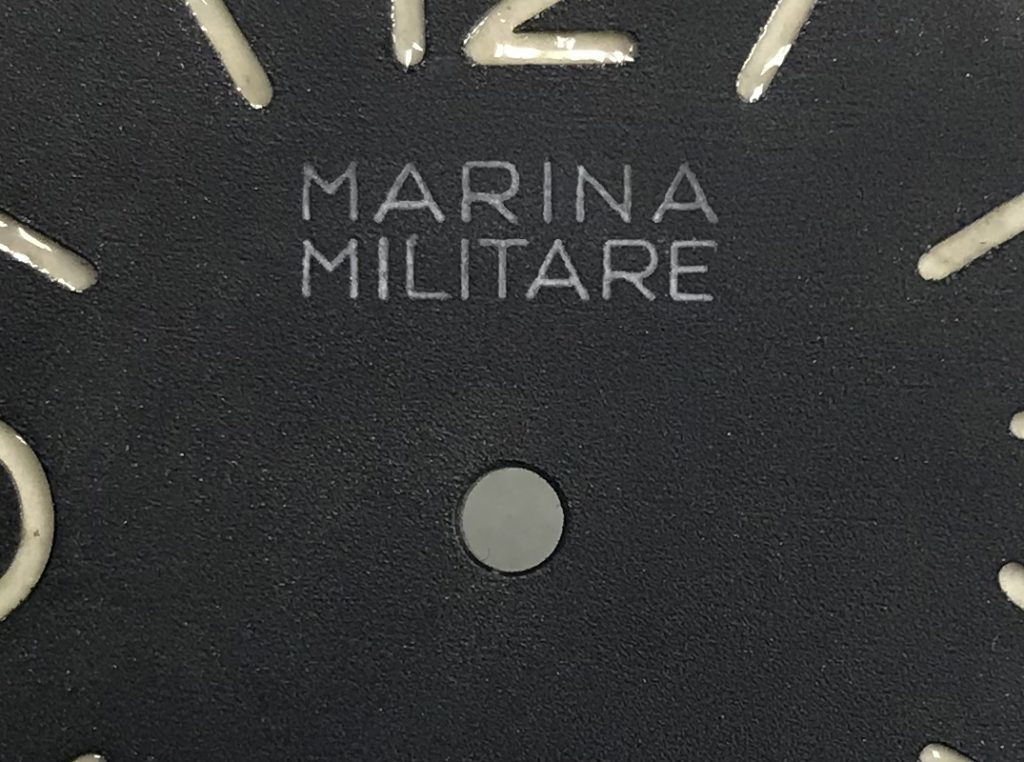
6152 How to build stage 58
Now we can see what True Pantograph Engraving looks like. This is how the authentic dial would look. Note how the engraving is not perfect.
6152 How to build stage 59
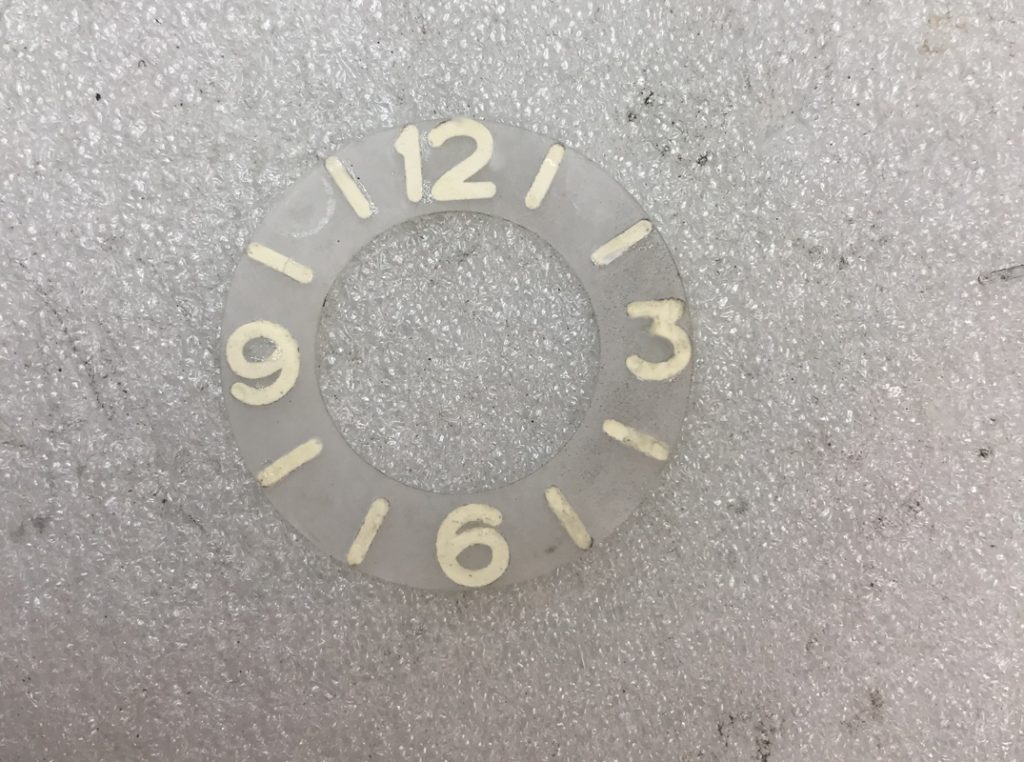
Here we see the inside of the dial. Authentic dials used the Plexi to hold the Lume, but note that the Plexi should never be seen.
6152 How to build stage 60
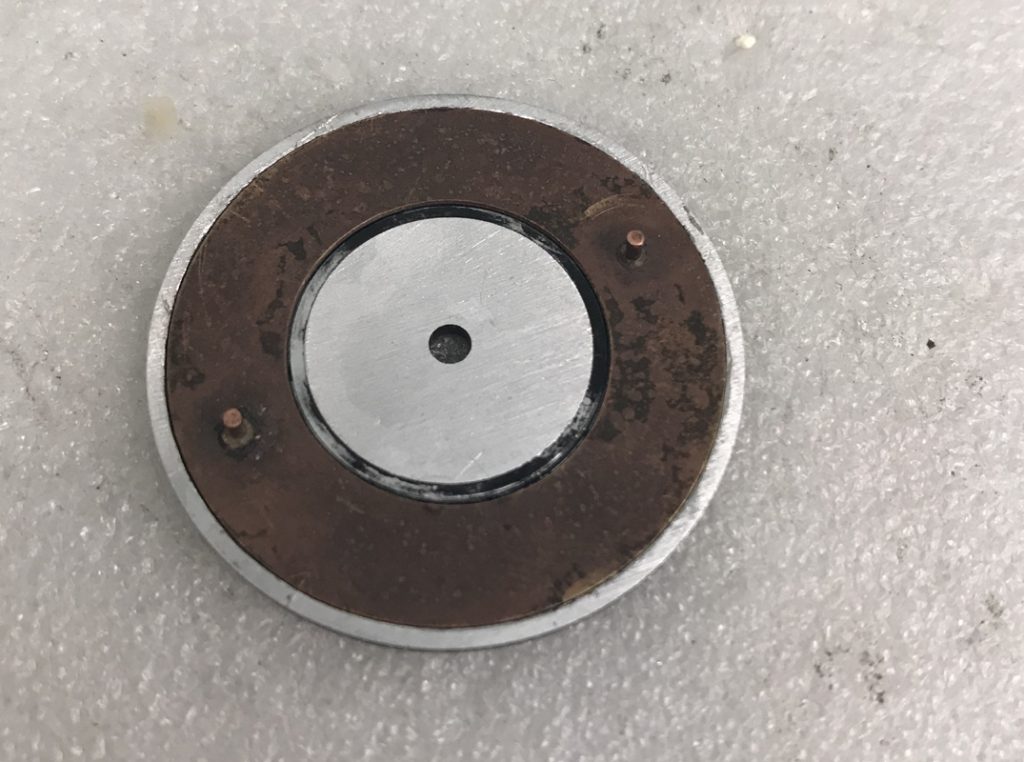
Sometimes authentic dials were machined on the back, note how the anodizing has been removed.
6152 How to build stage 61
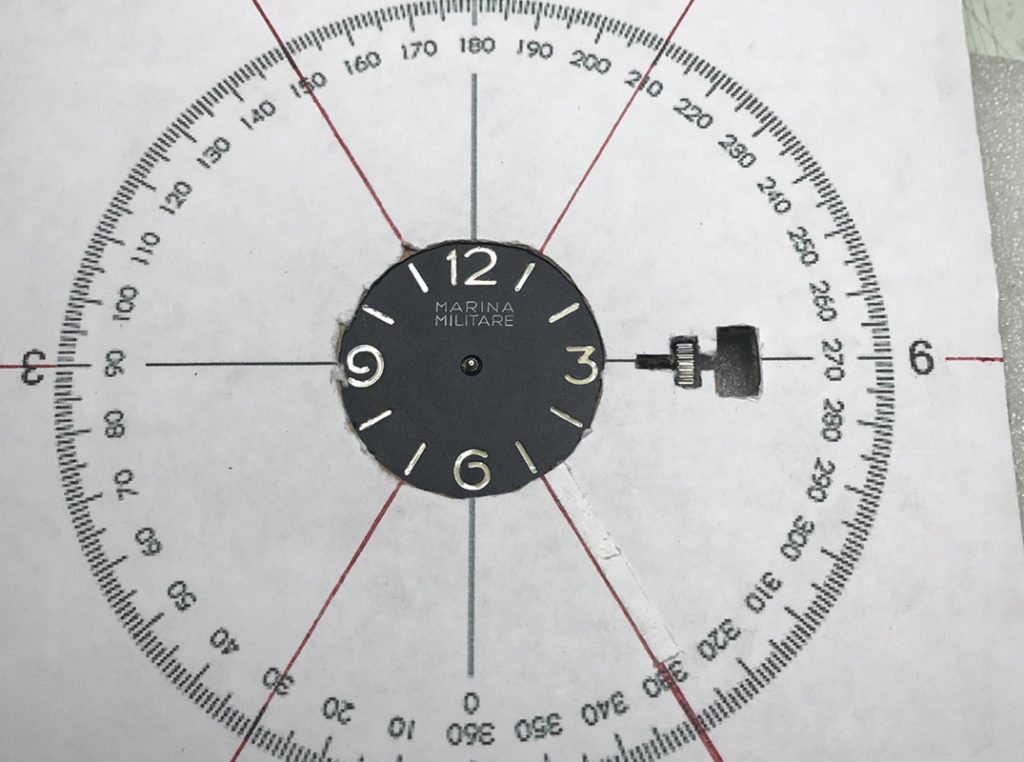
A home-made plate has been made to ensure correct alignment
6152 How to build stage 62
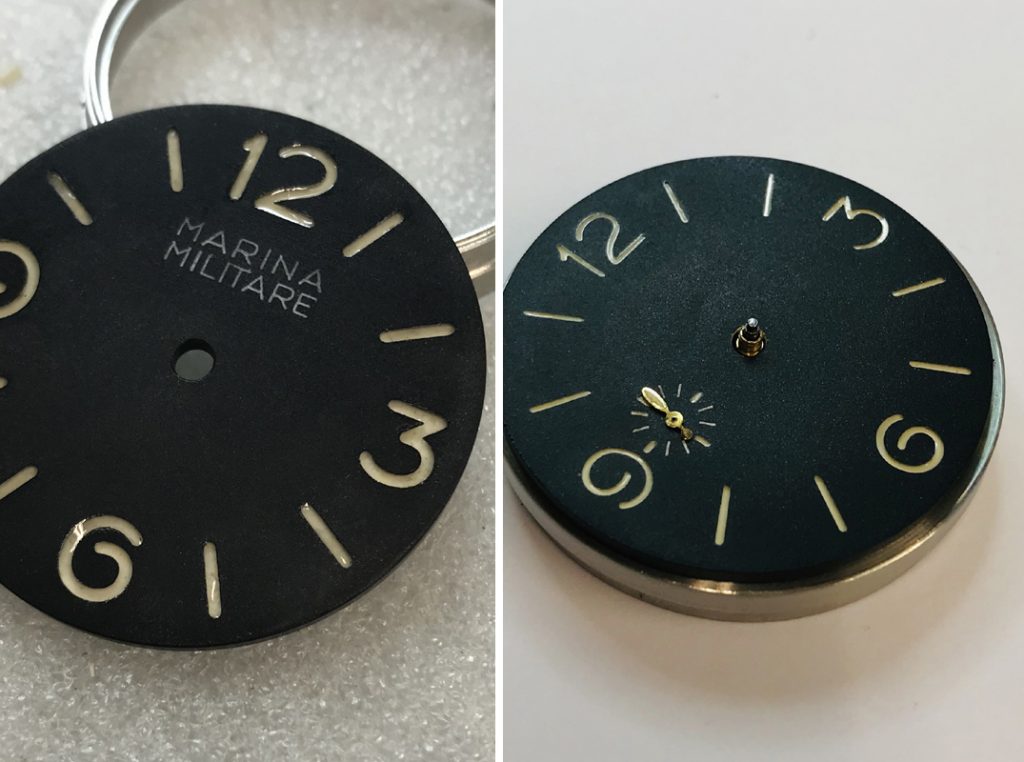
The dial after being mounted onto the movement. The dial is held be 2 screws that screw into to the dial feet. Note the Tall Canon Pinion.
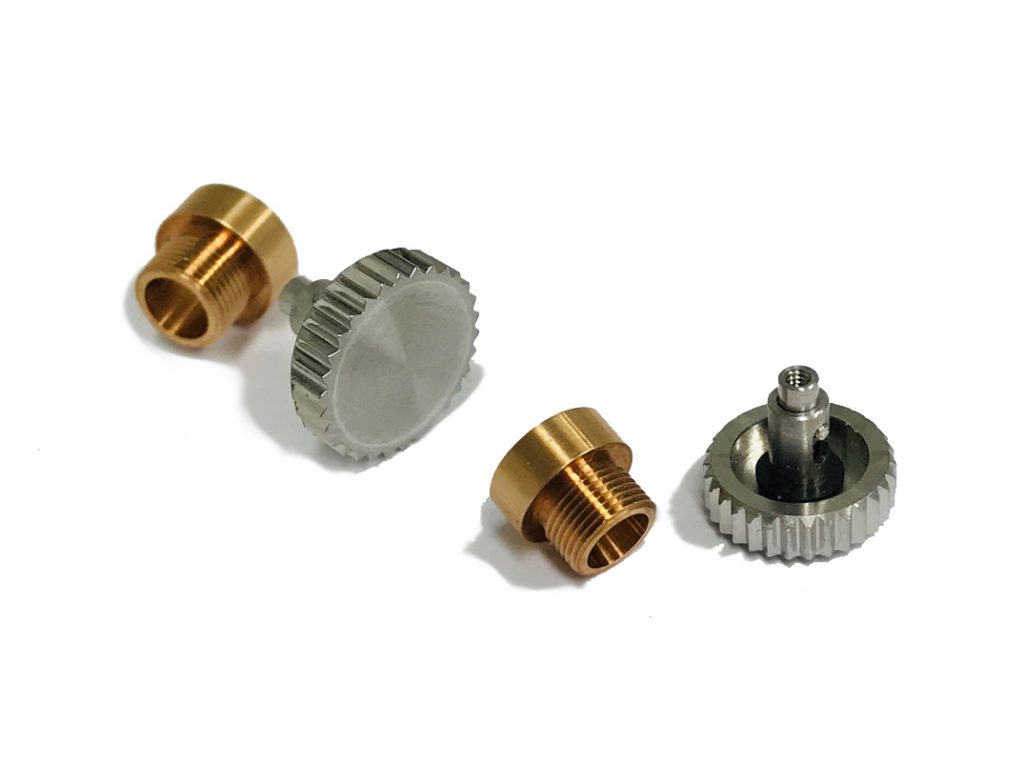
6152 How to build stage 63
Here we have added a Spring Loaded Crown, note how this Crown is fitted with a Rubber O’Ring, this will help to make the case water-tight.
